On this tutorial, we will learn how to create a Members Directory page where the profile details of the member are displayed on a popup.
Requirements #
The following plugins are required for this tutorial:
We recommend to use a child theme of Hello by Elementor, but you can use any other theme you prefer.
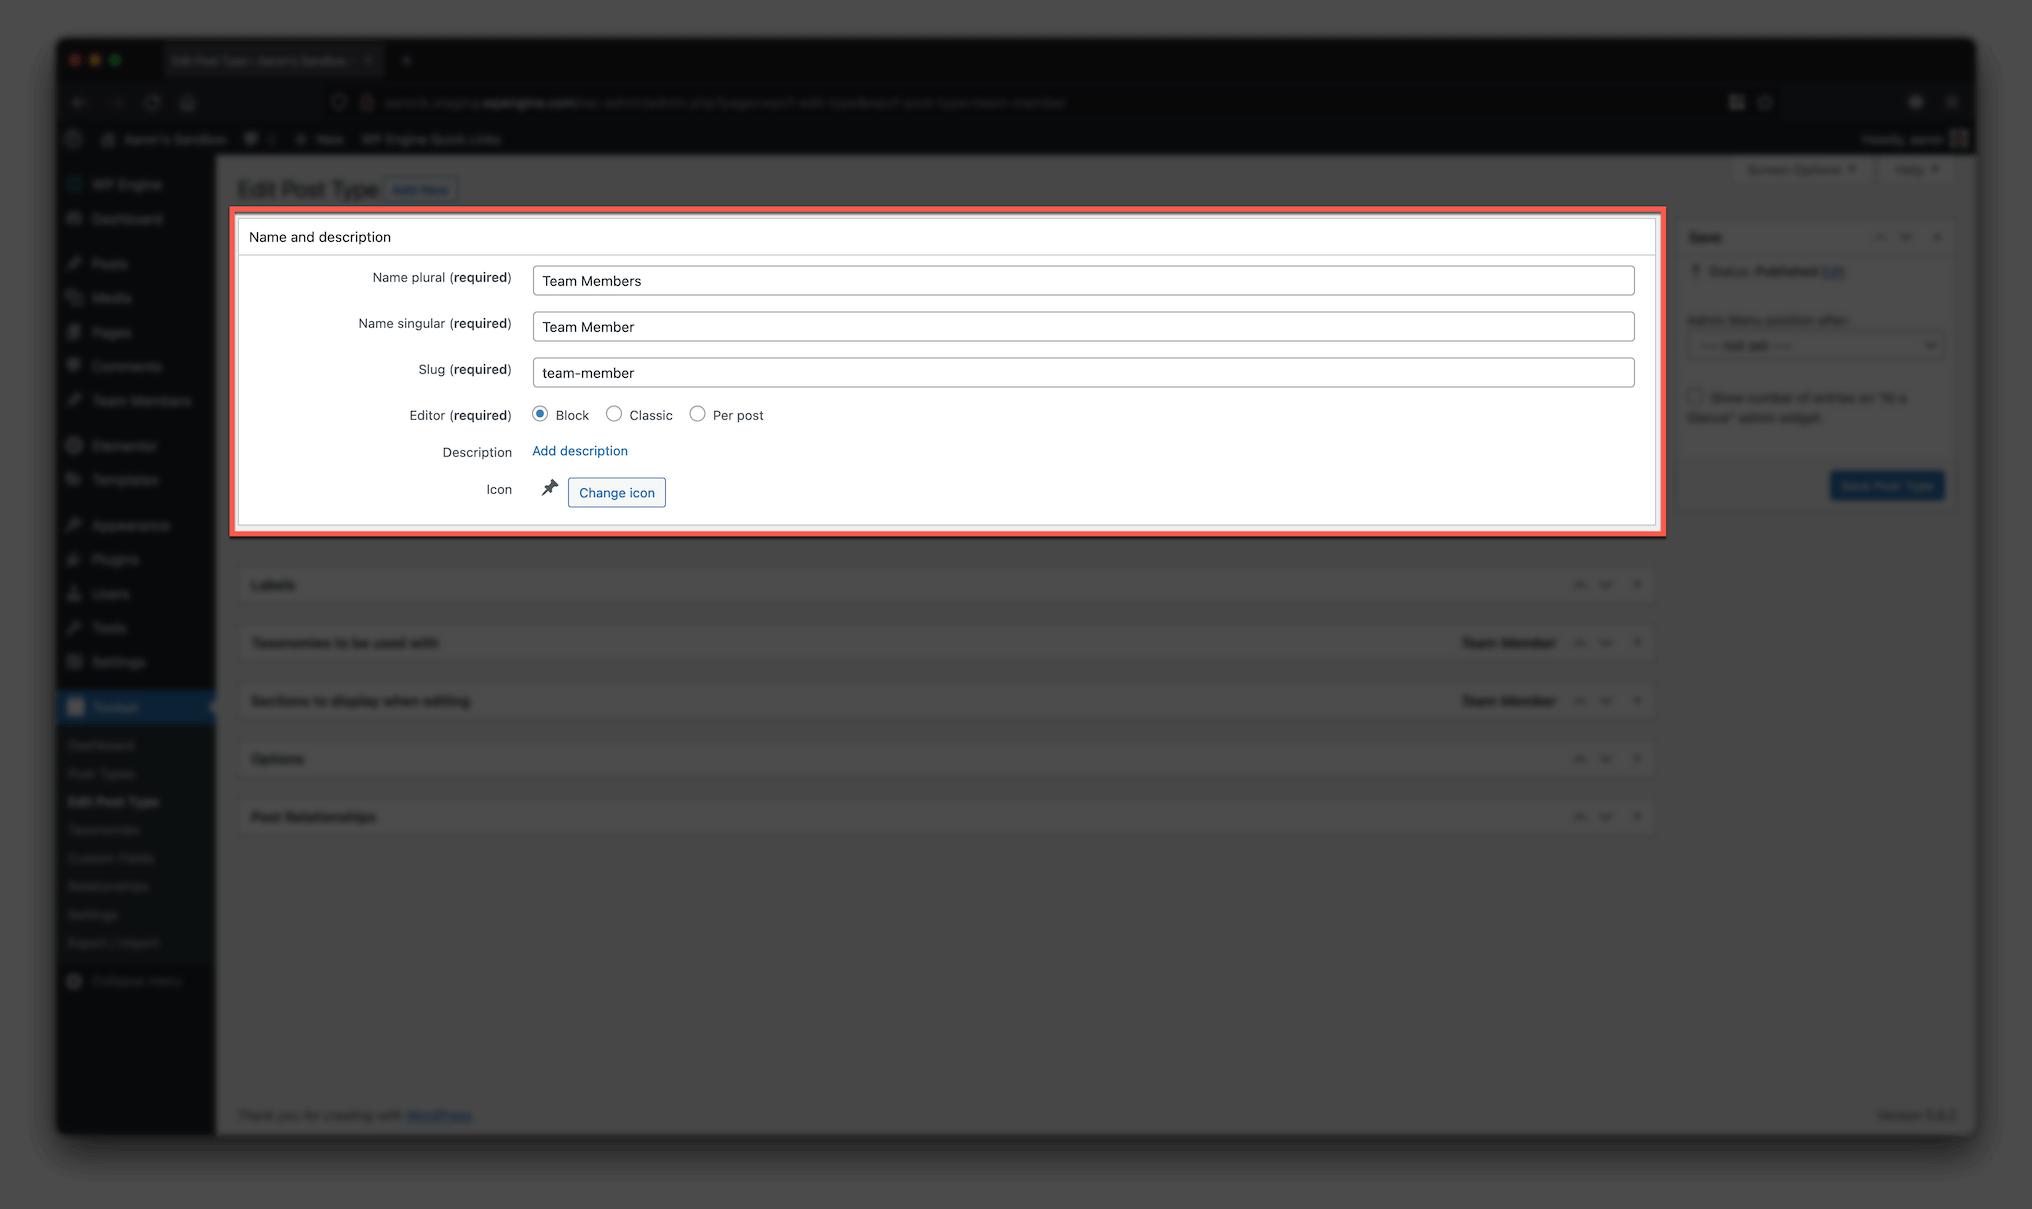
Register the “Team Members” custom post type #
- Name plural: Team Members
- Name singular: Team Member
- Slug: team-member
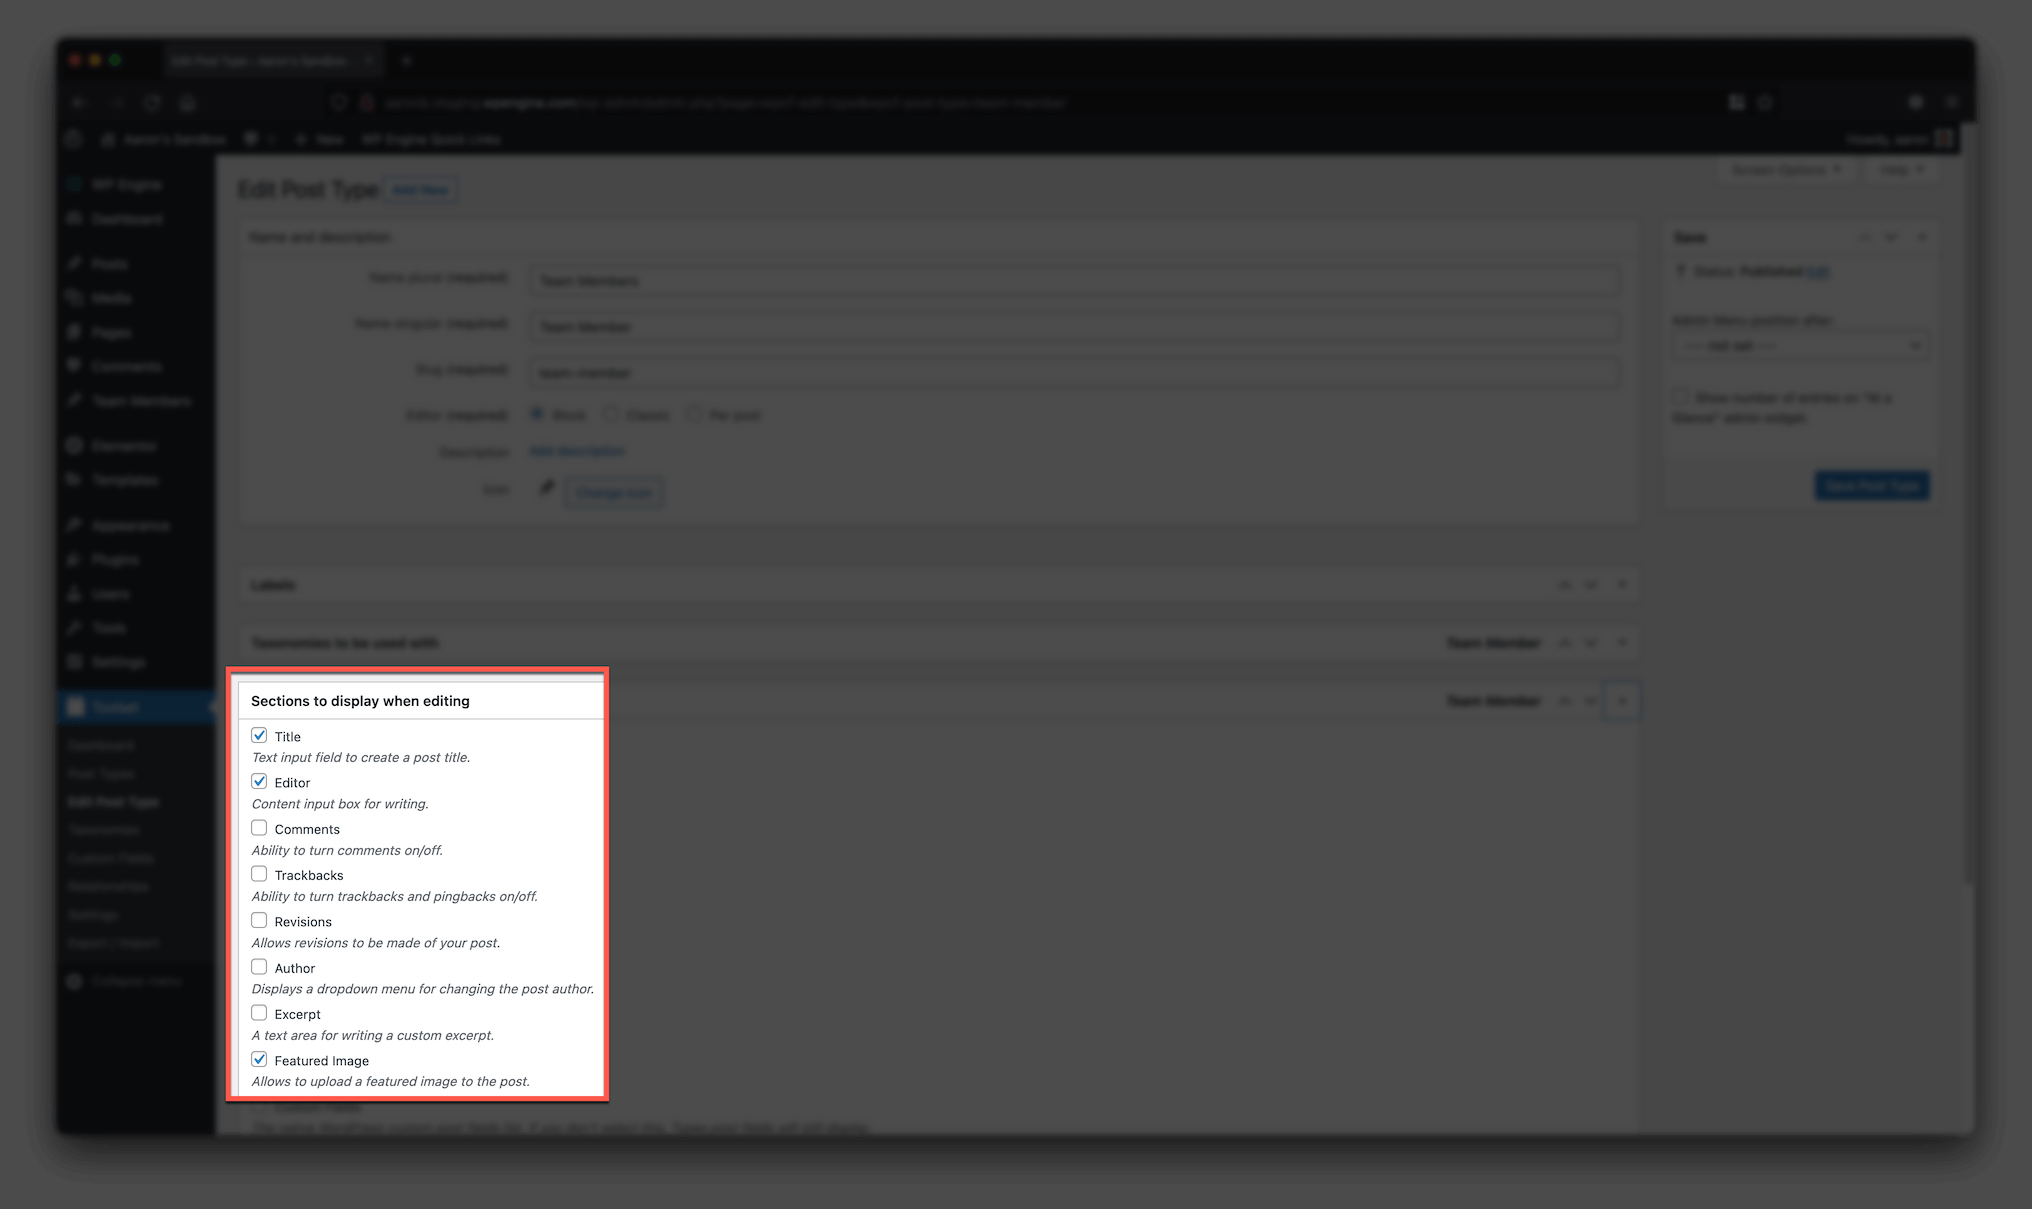
It’s also a good idea to enable Featured Images for this custom post type. This can be done on the Sections to display when editing box:
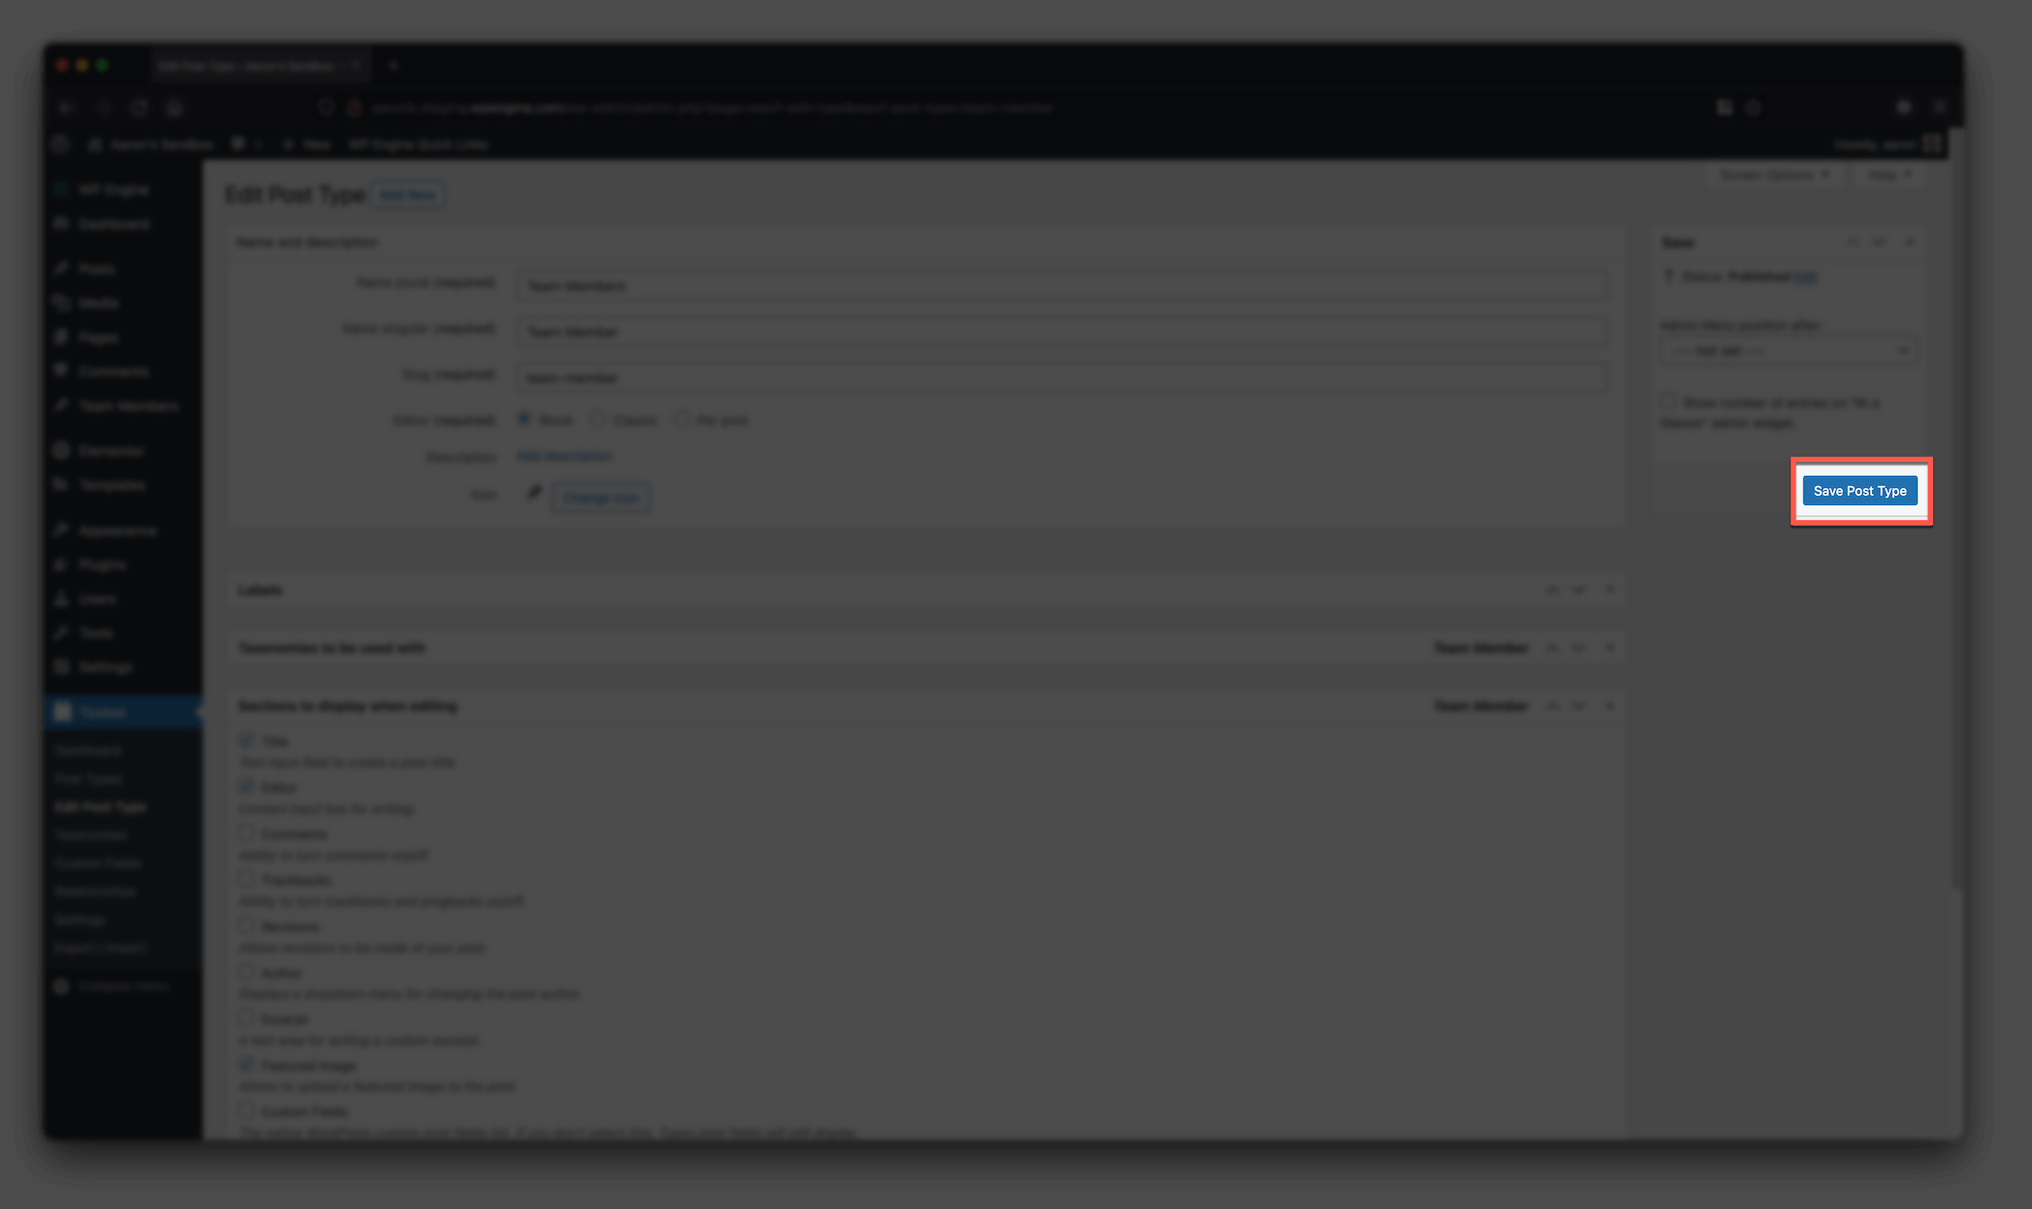
Click on Save Post Type and your are done. The Team Members custom post type was created.
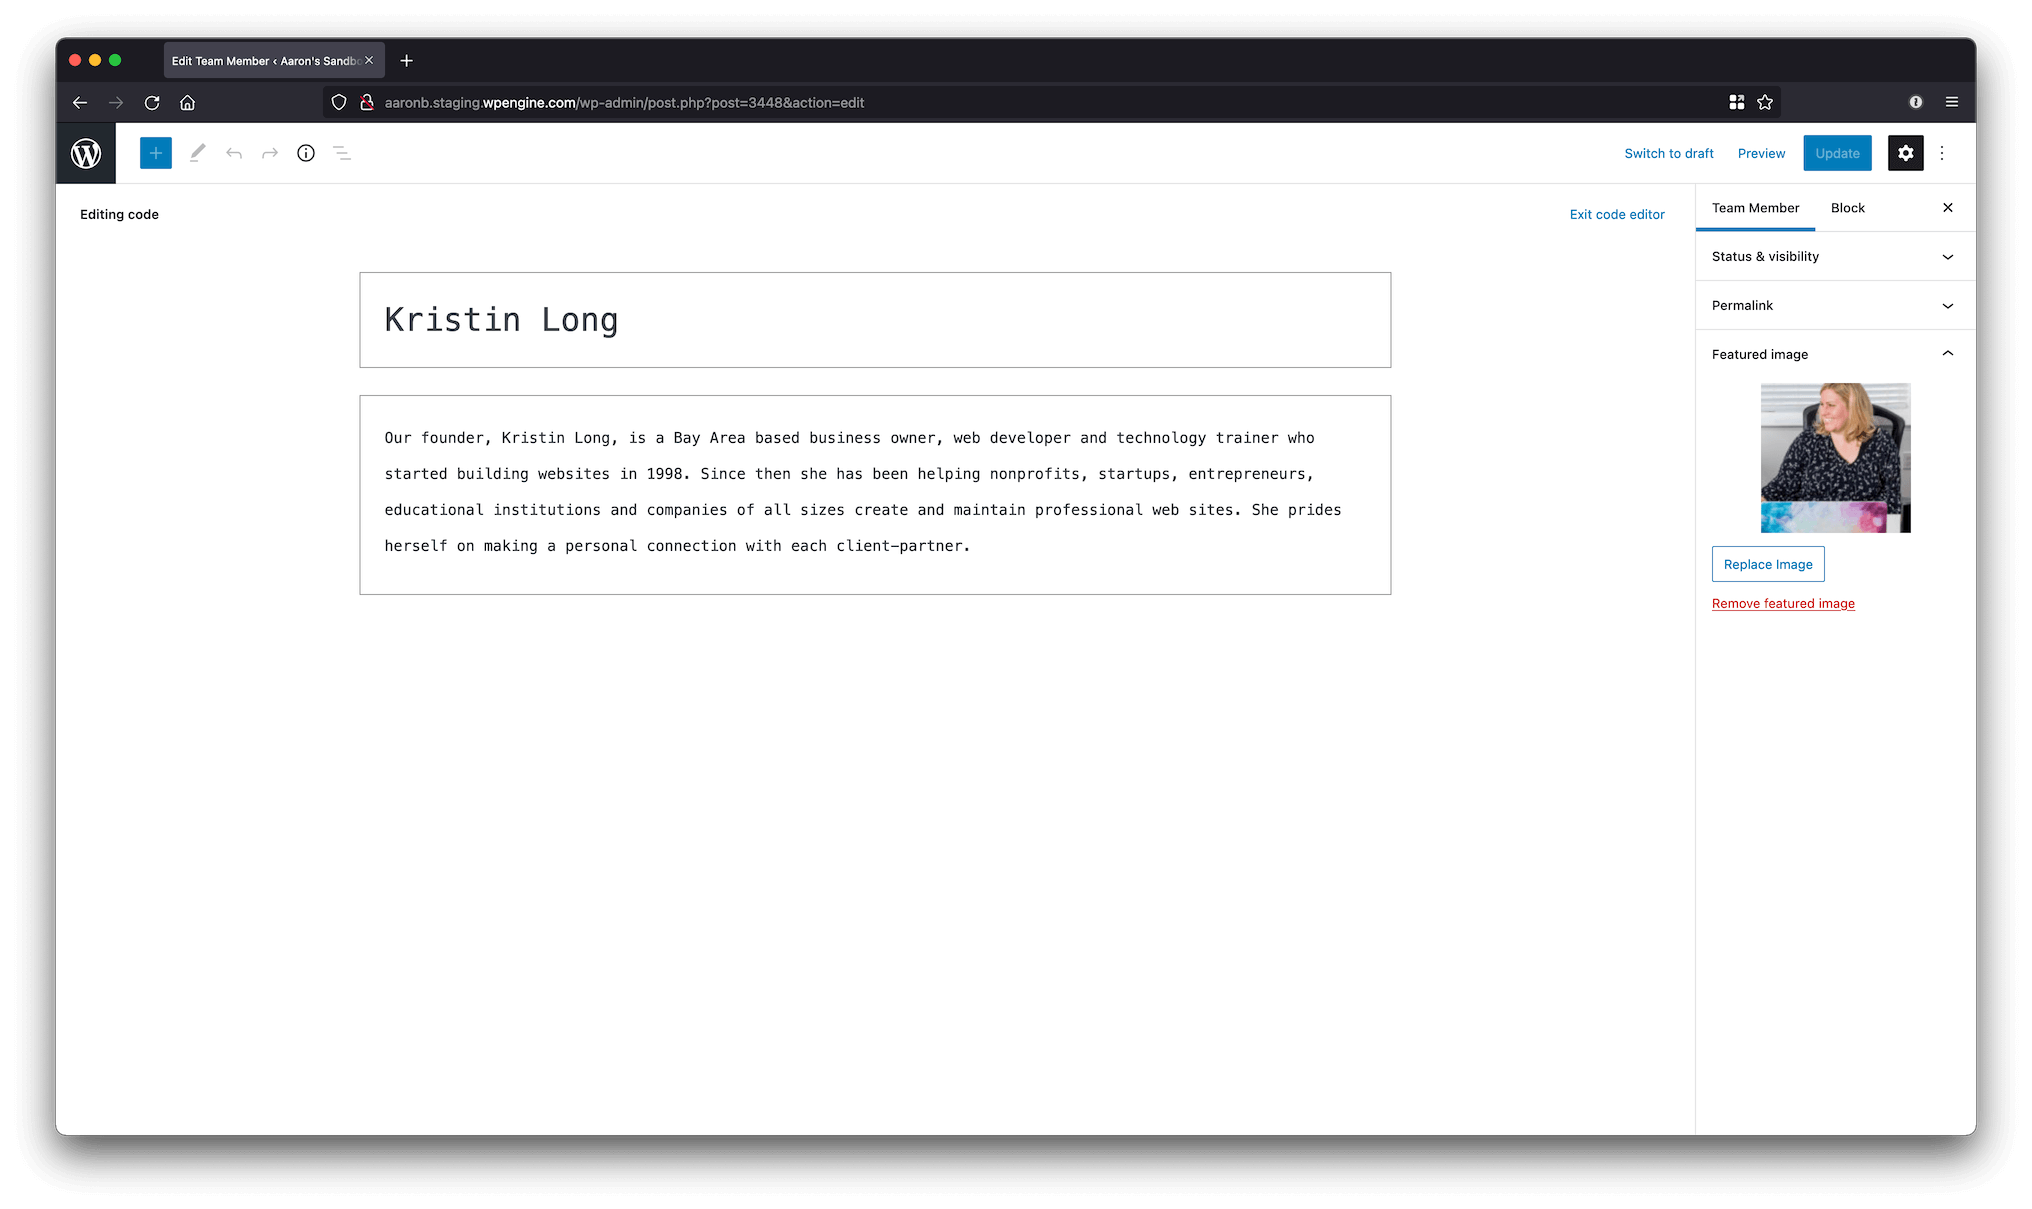
Once your new Custom Post Type is created, it’s a good idea to add some dummy (or real) data to make the next steps easier to follow by displaying some previews. If you don’t add dummy (or real) team members at this point, you won’t be able to see how the Elementor Templates will look while you create them. To add dummy data go to the recently created Team Members section in WordPress Admin Dashboard and click on Add New. Then, add the member name, picture and you can also use the Content field to add the bio of the Team Member.
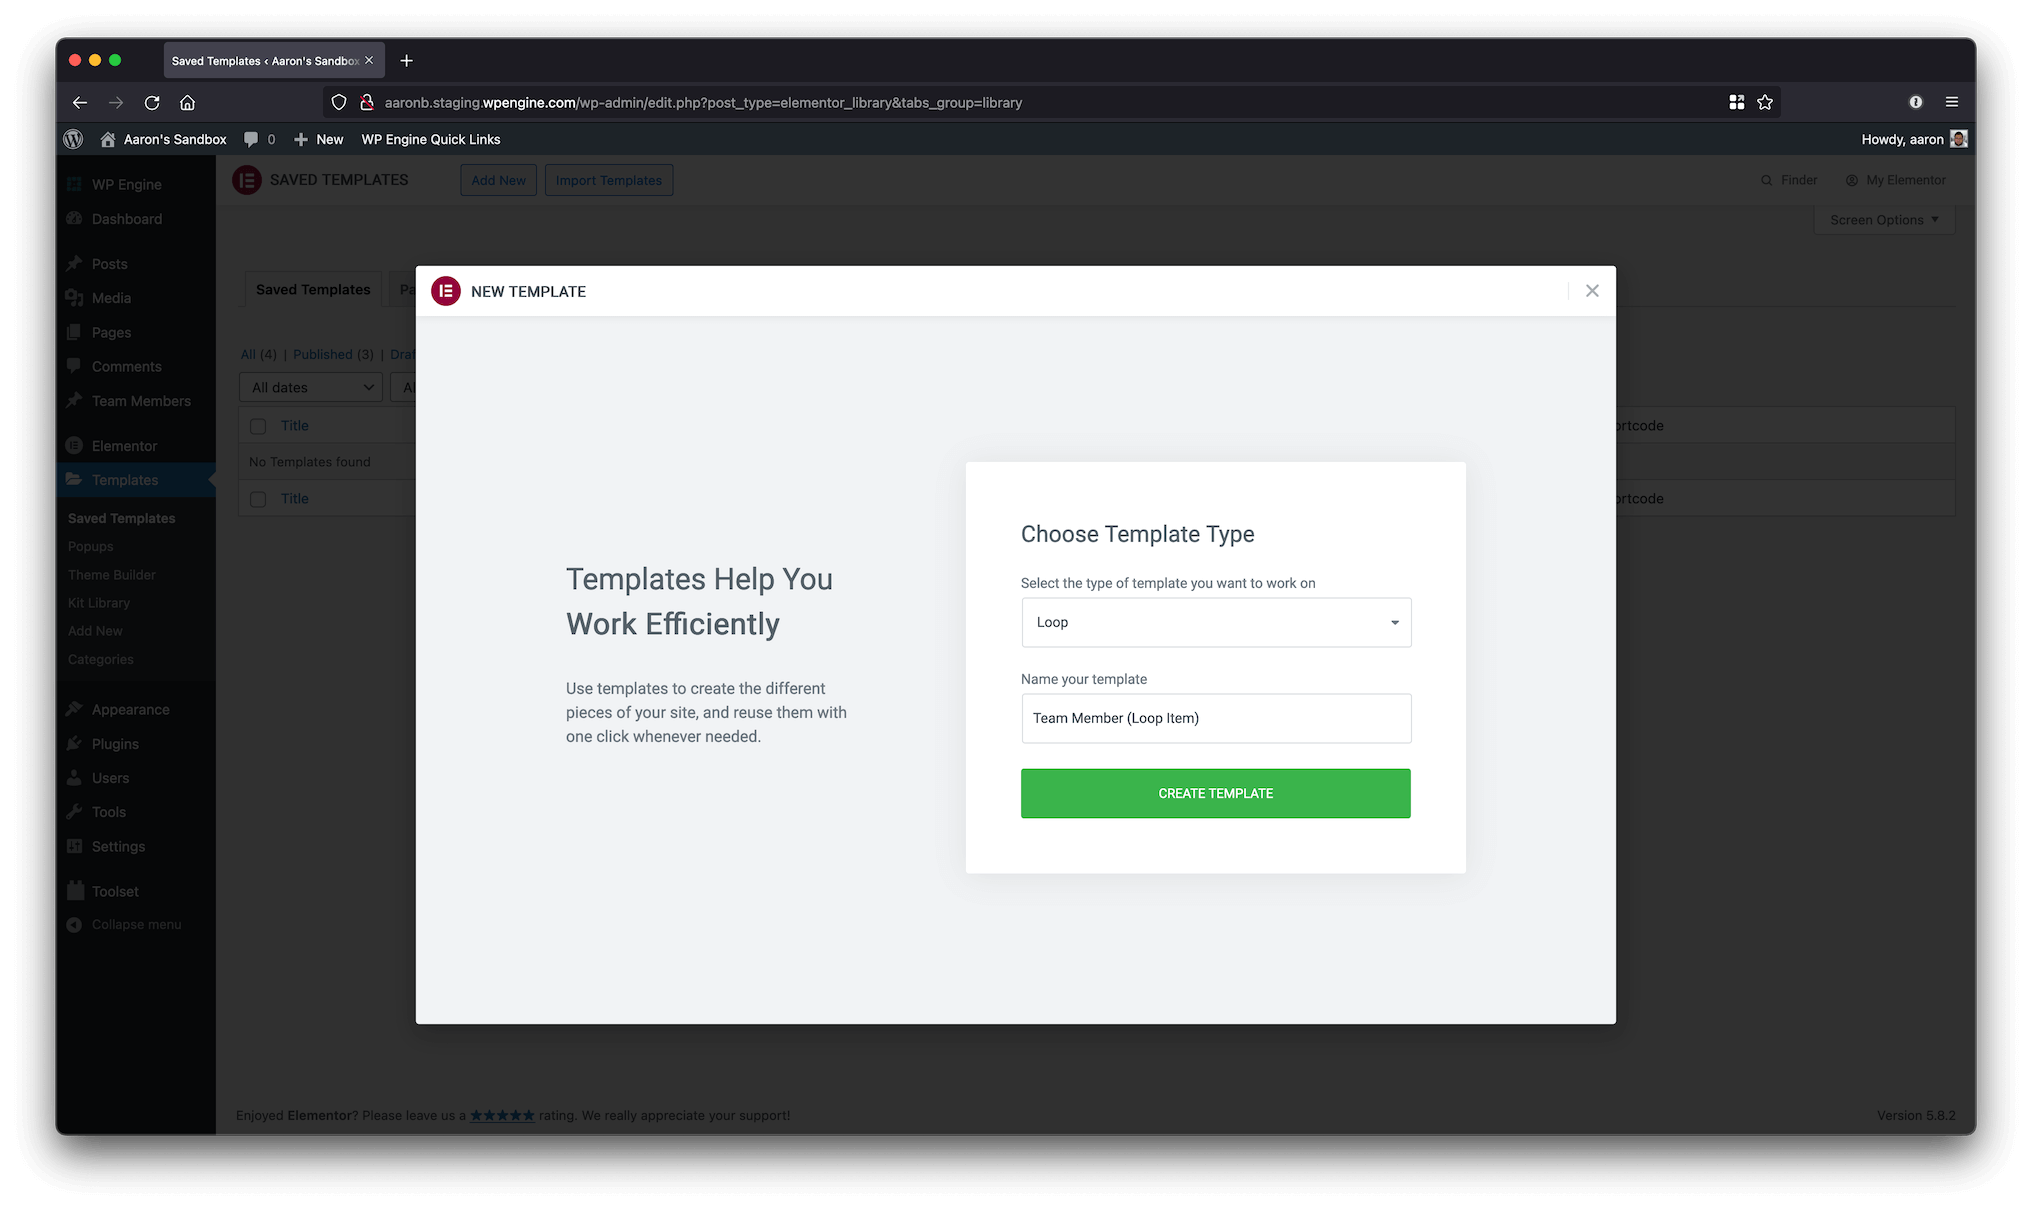
Create the “Team Member (Loop Item)” template #
Go to WordPress Admin Dashboard → Templates → Saved Templates and click on Add New. Set the following configuration:
- Type: Loop
- Name: Team Member (Loop Item)
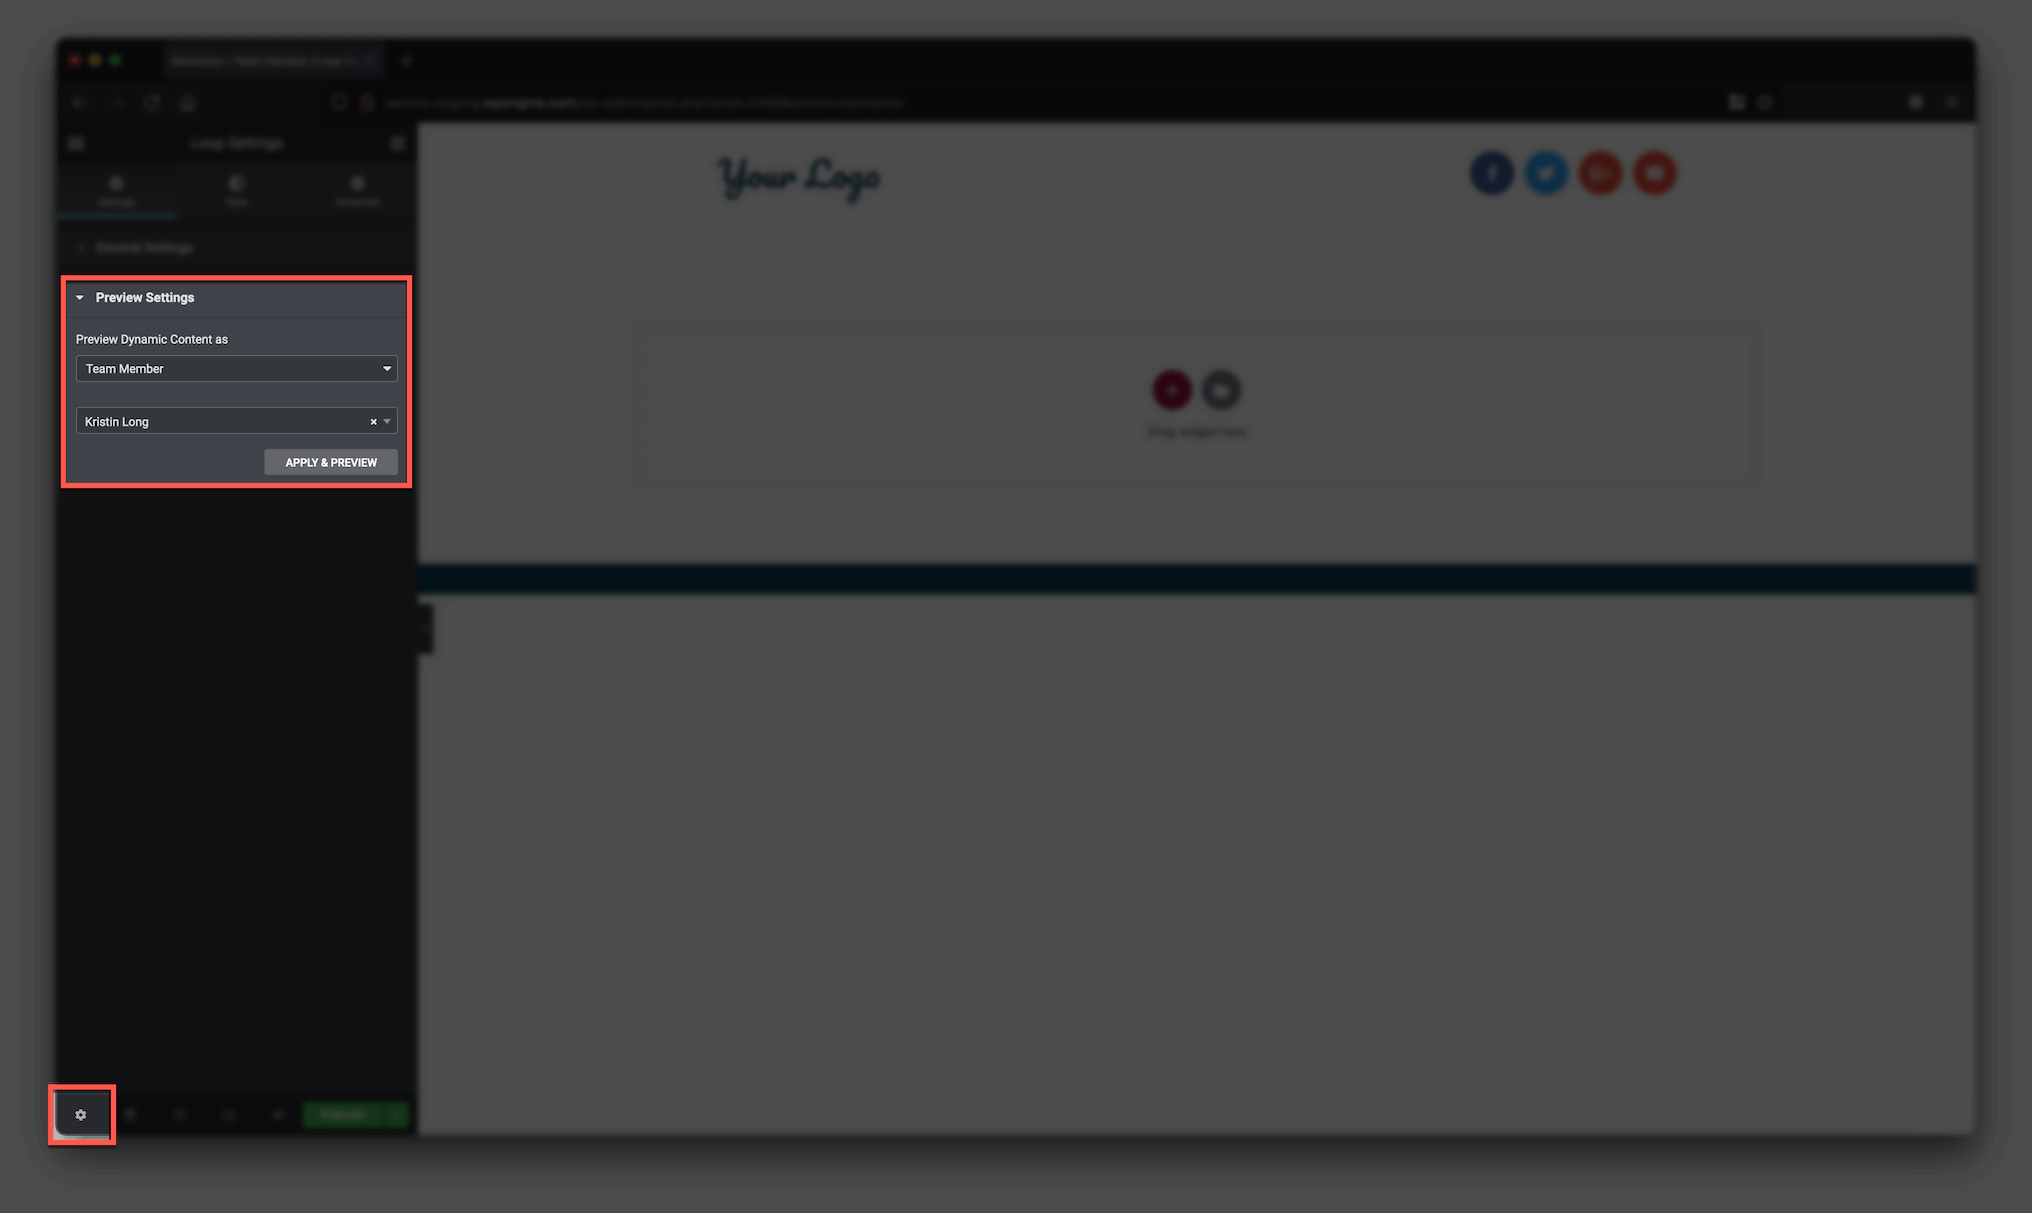
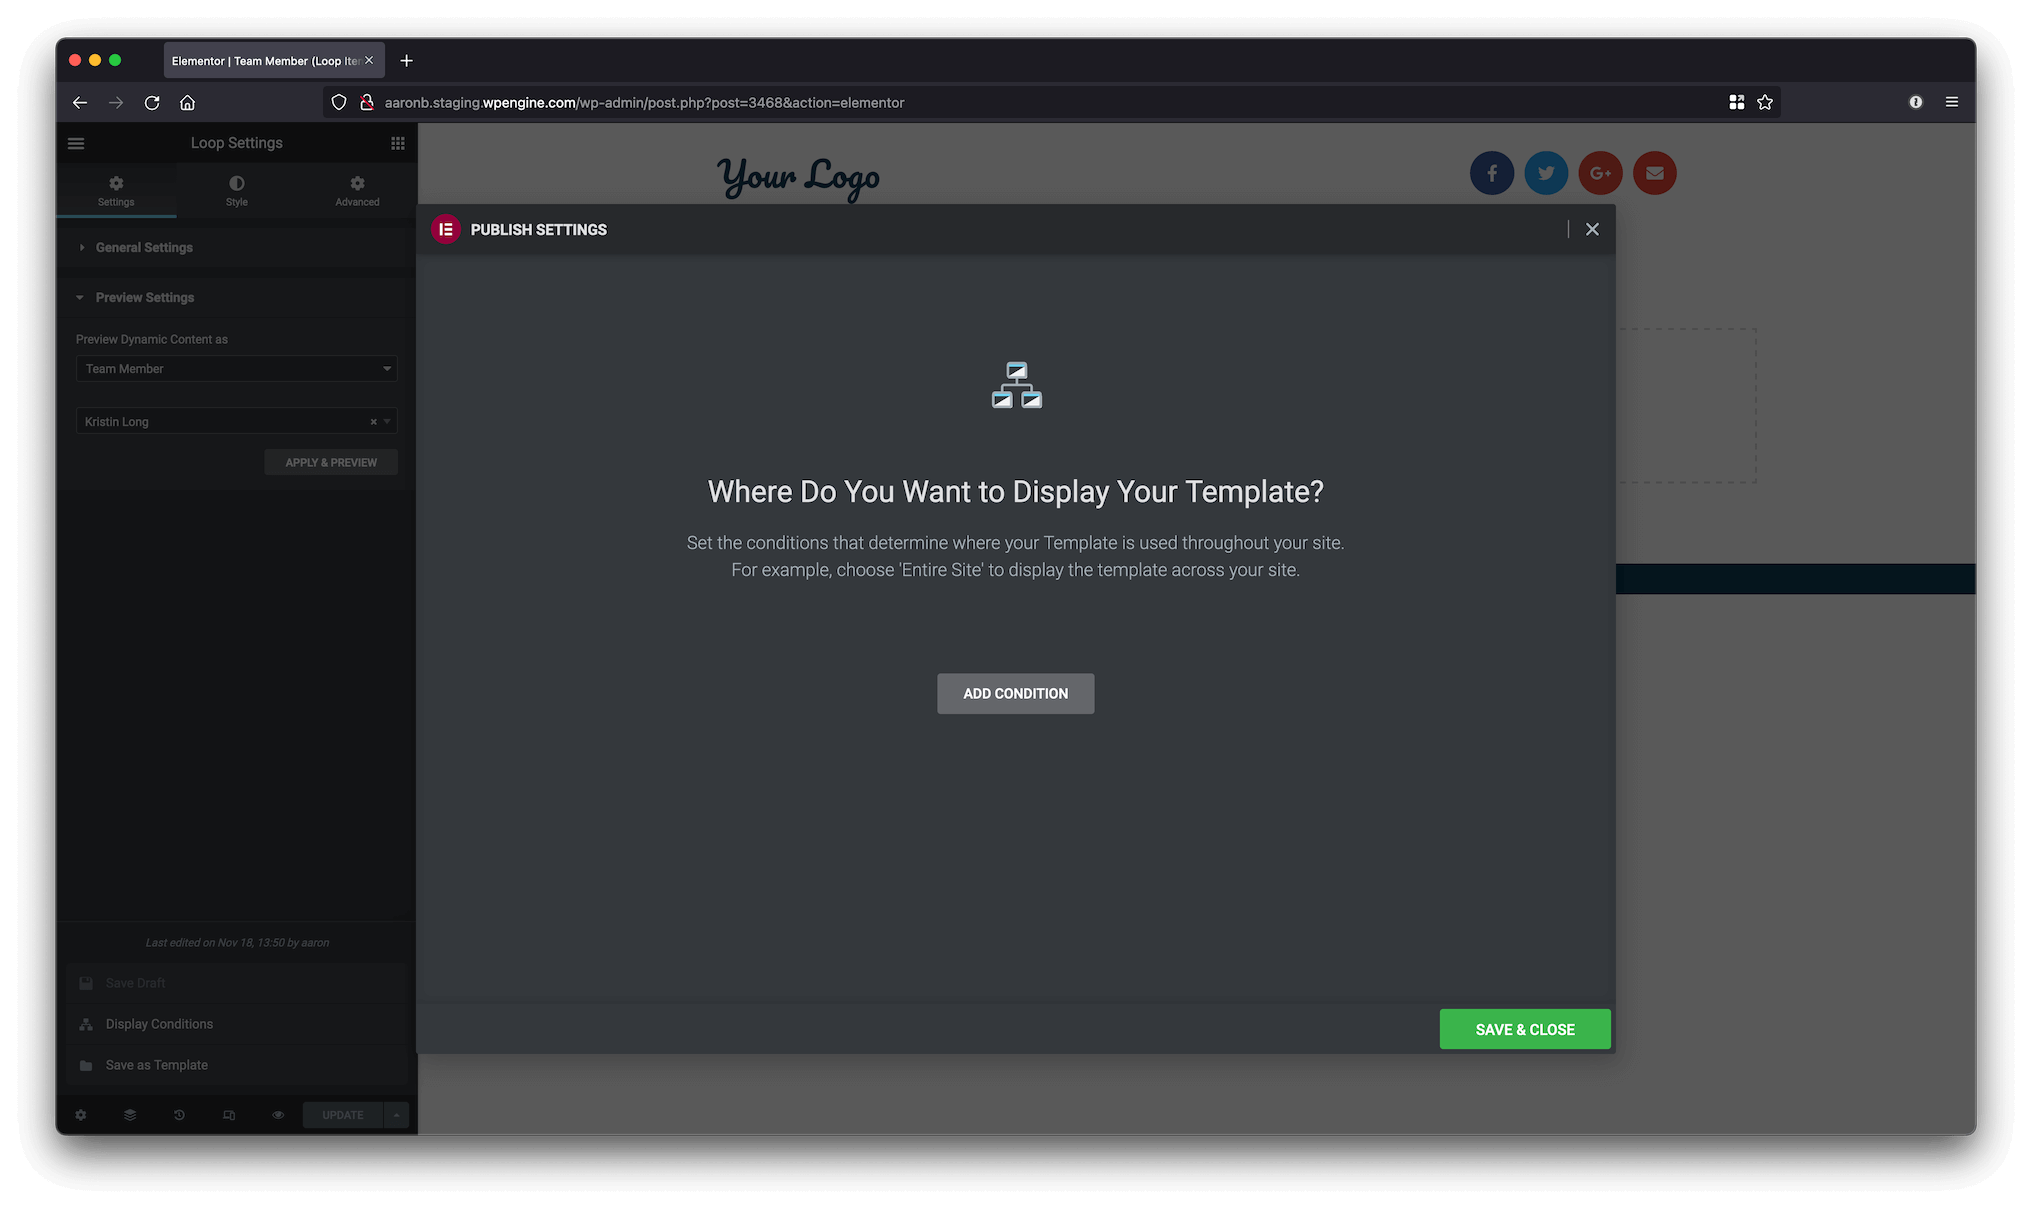
Once the Elementor Editor is loaded, close the popup that shows the library of templates and click on Settings (gear icon in the bottom left of the screen). Go to Preview Settings and set the following:
- Preview Dynamic Content as: Team Member.
- Select a Team Member on the second dropdown.
- Click Apply & Preview.
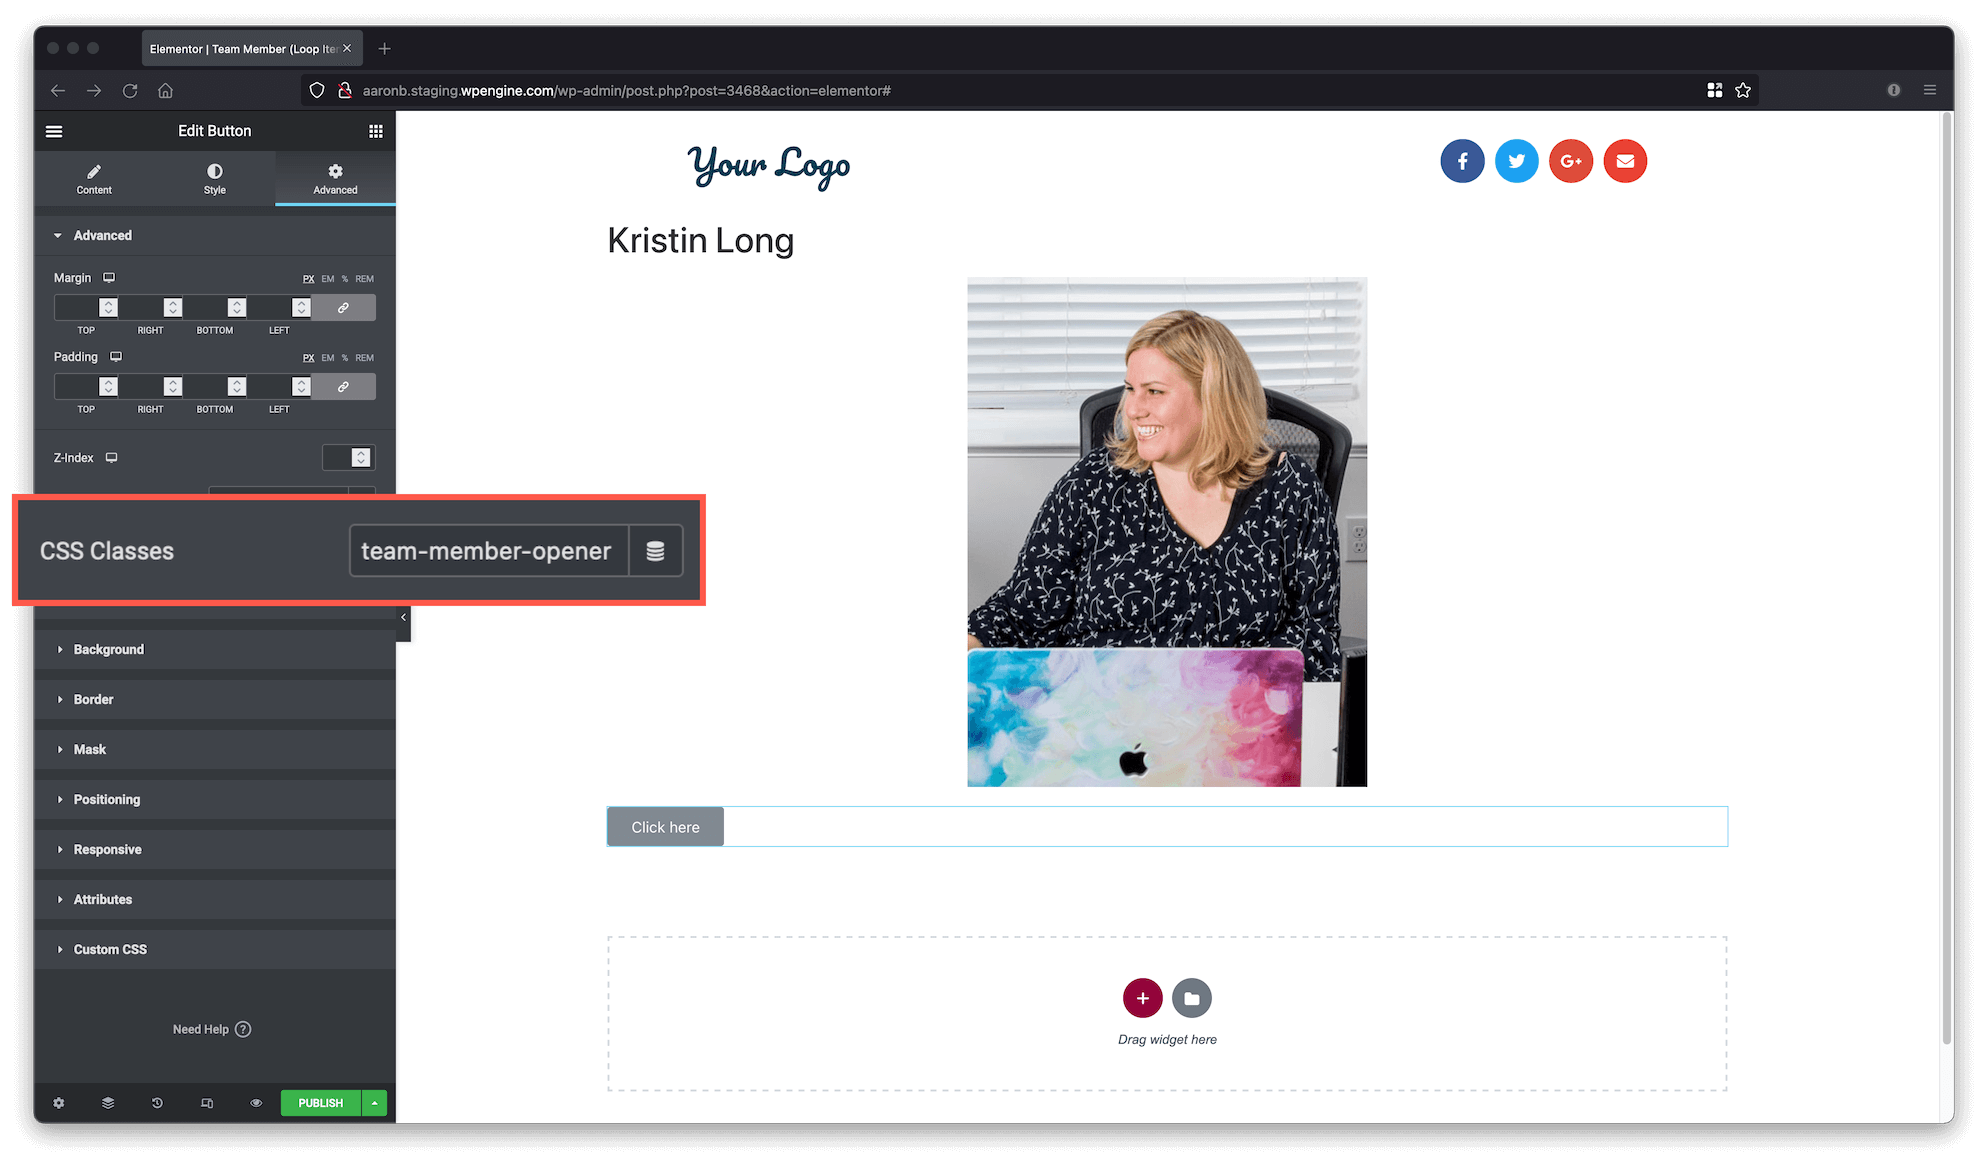
This template is the box that will be repeated on the Members Directory grid. For this tutorial, we will add the following widgets:
- Post Title
- Featured Image
- Button
Edit the Button widget and go to Advanced and set the following CSS Classes: team-member-opener
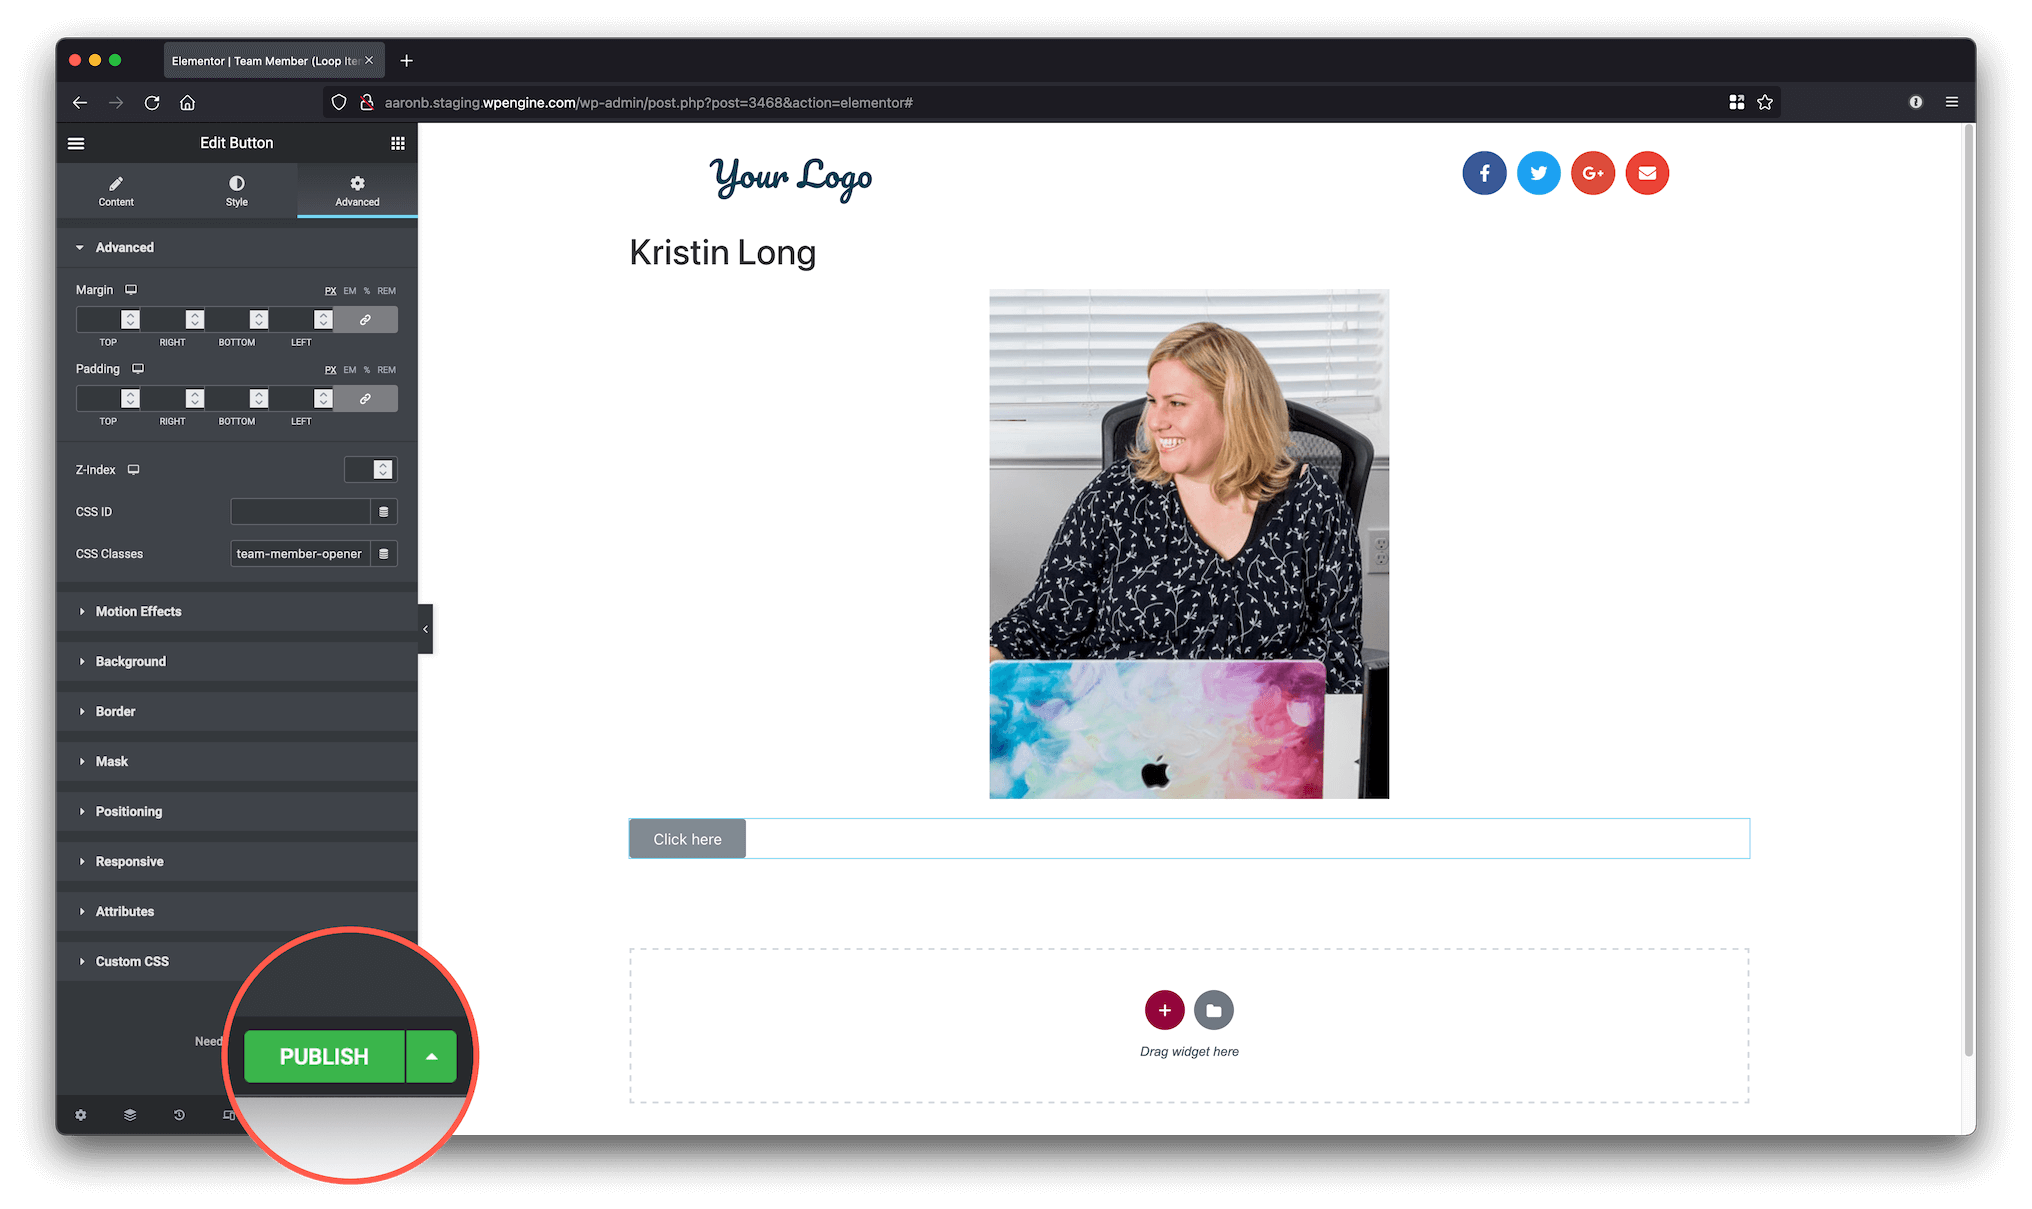
Click on Publish.
The Publishing Settings popup will appear, you don’t need to add any condition here, just click Save & Close and you are done with this template.
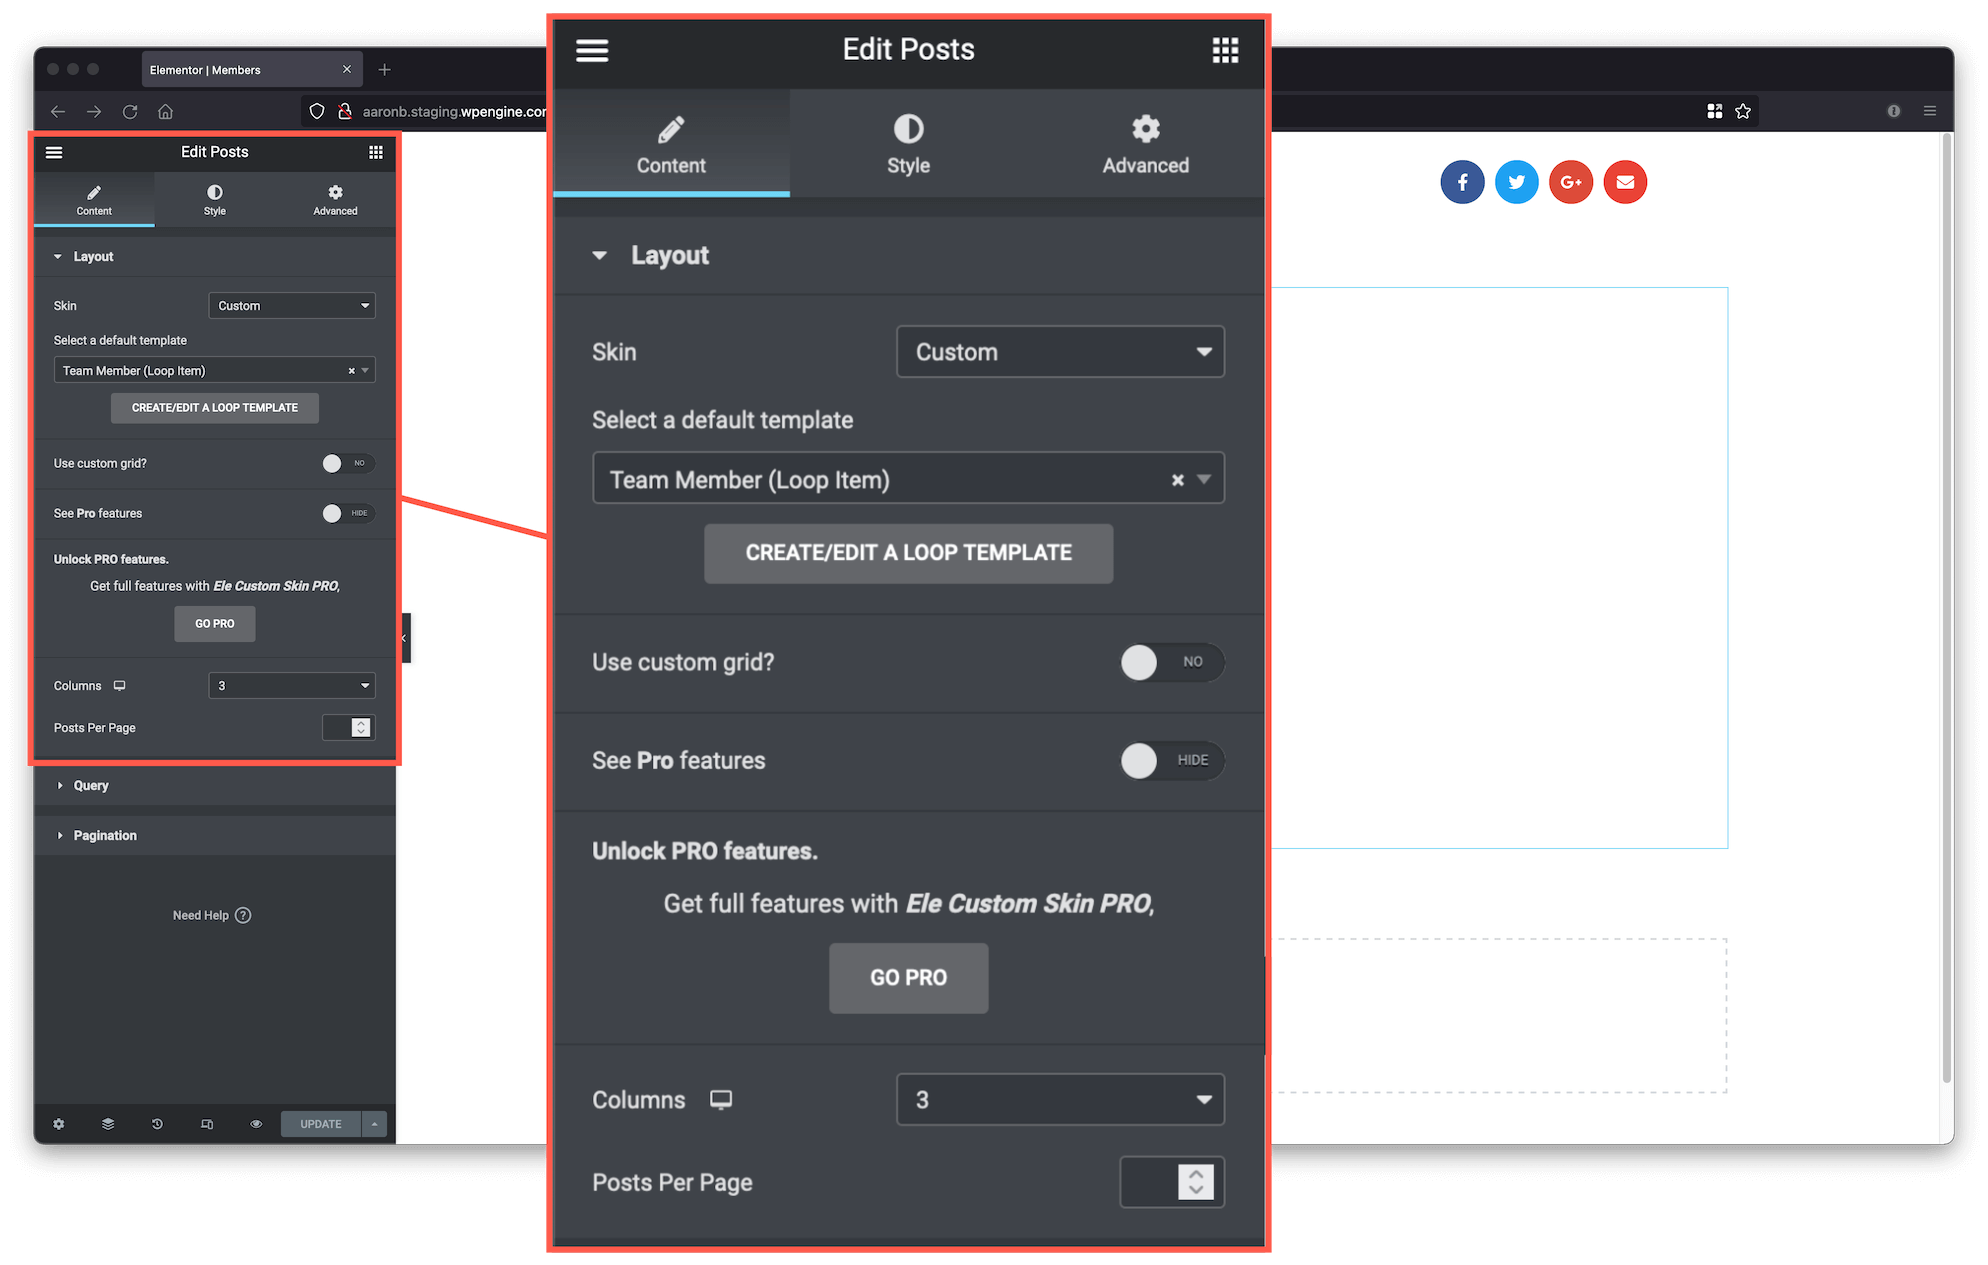
Create the “Members” page #
- Skin: Custom
- Select a default template: Team Member (Loop Item)
- See Pro features: Hide
- Columns: 3
- Posts Per Page: Empty
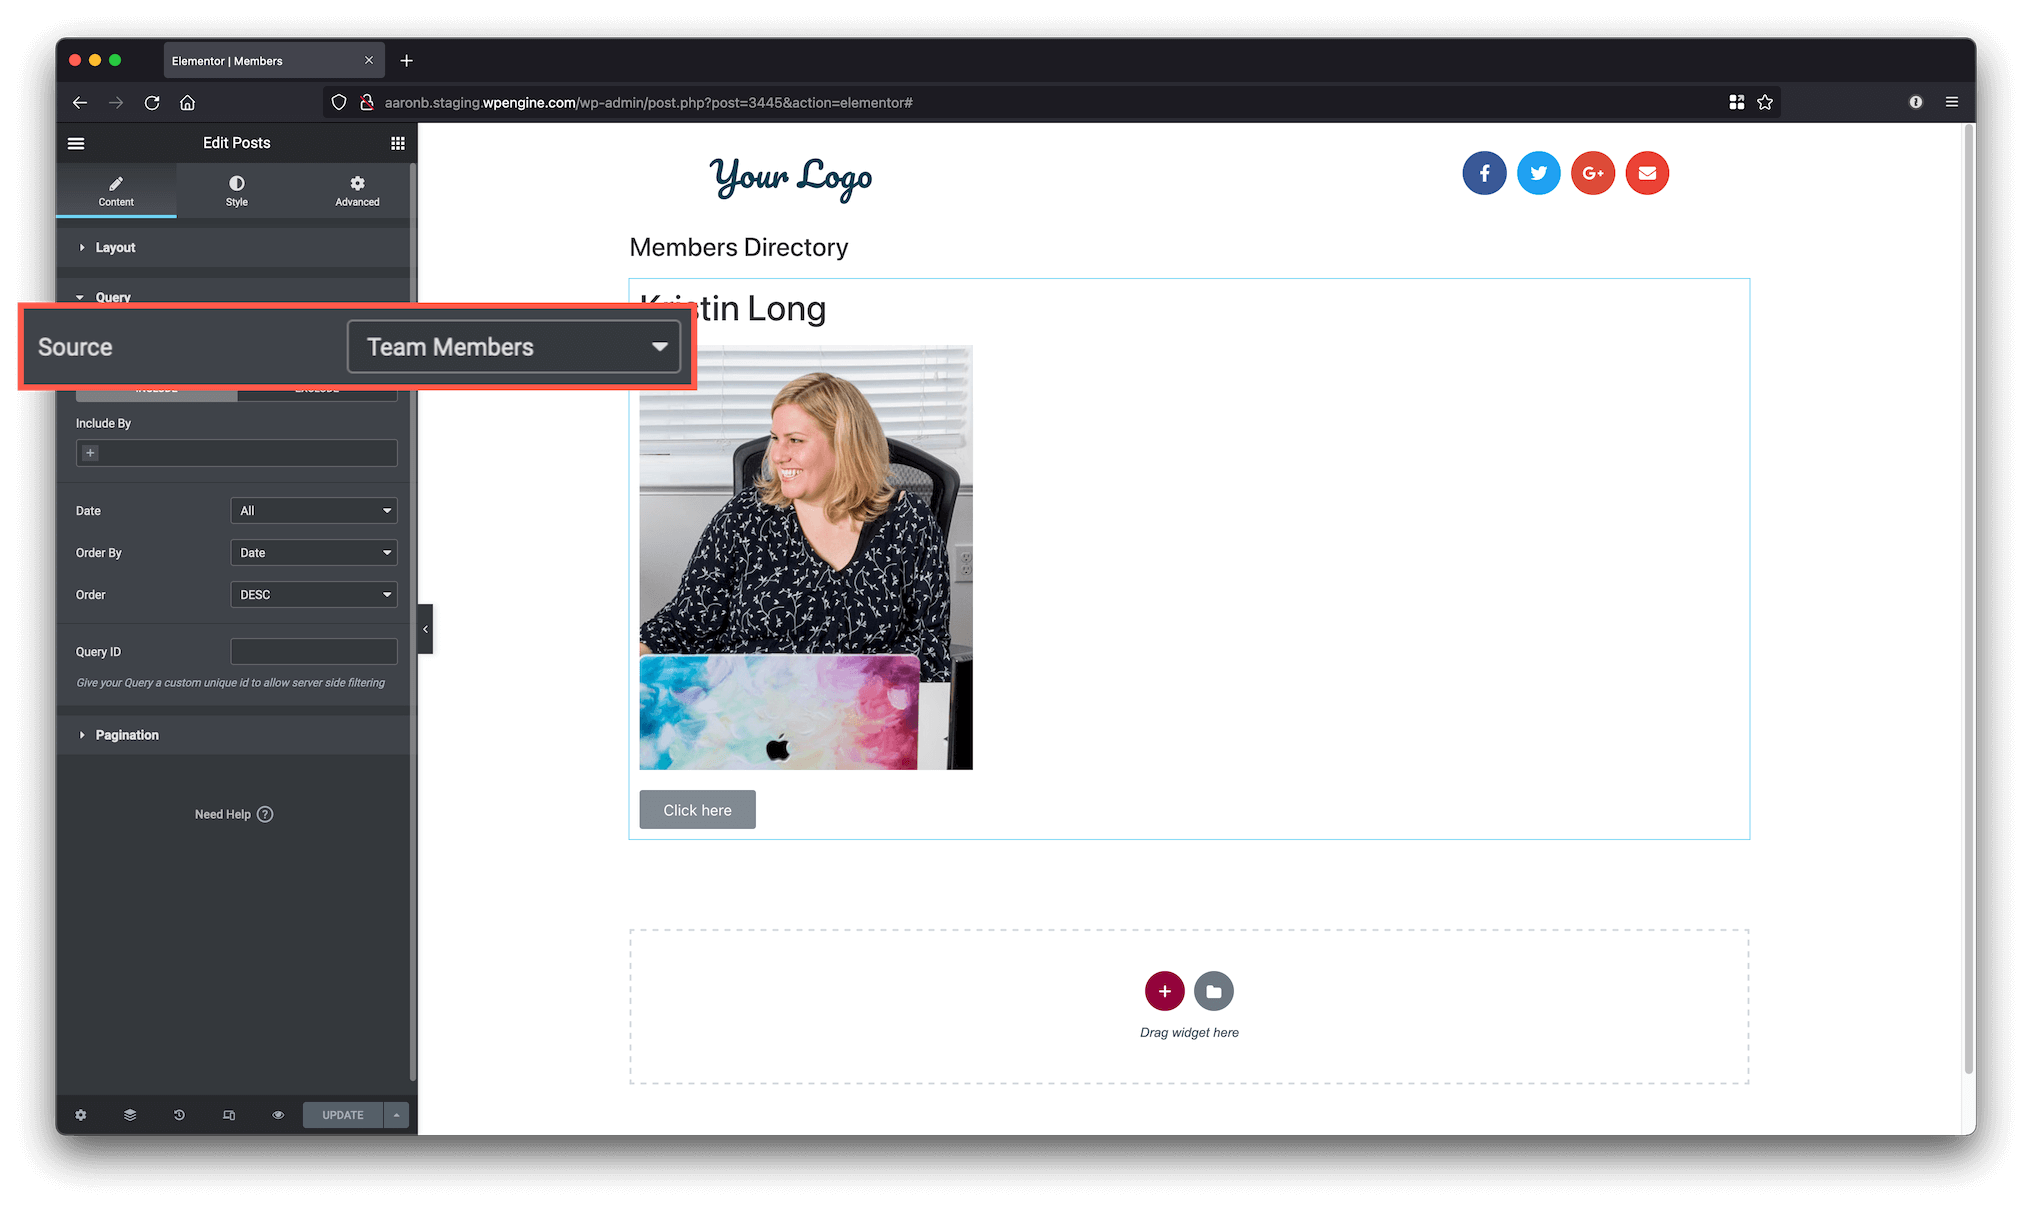
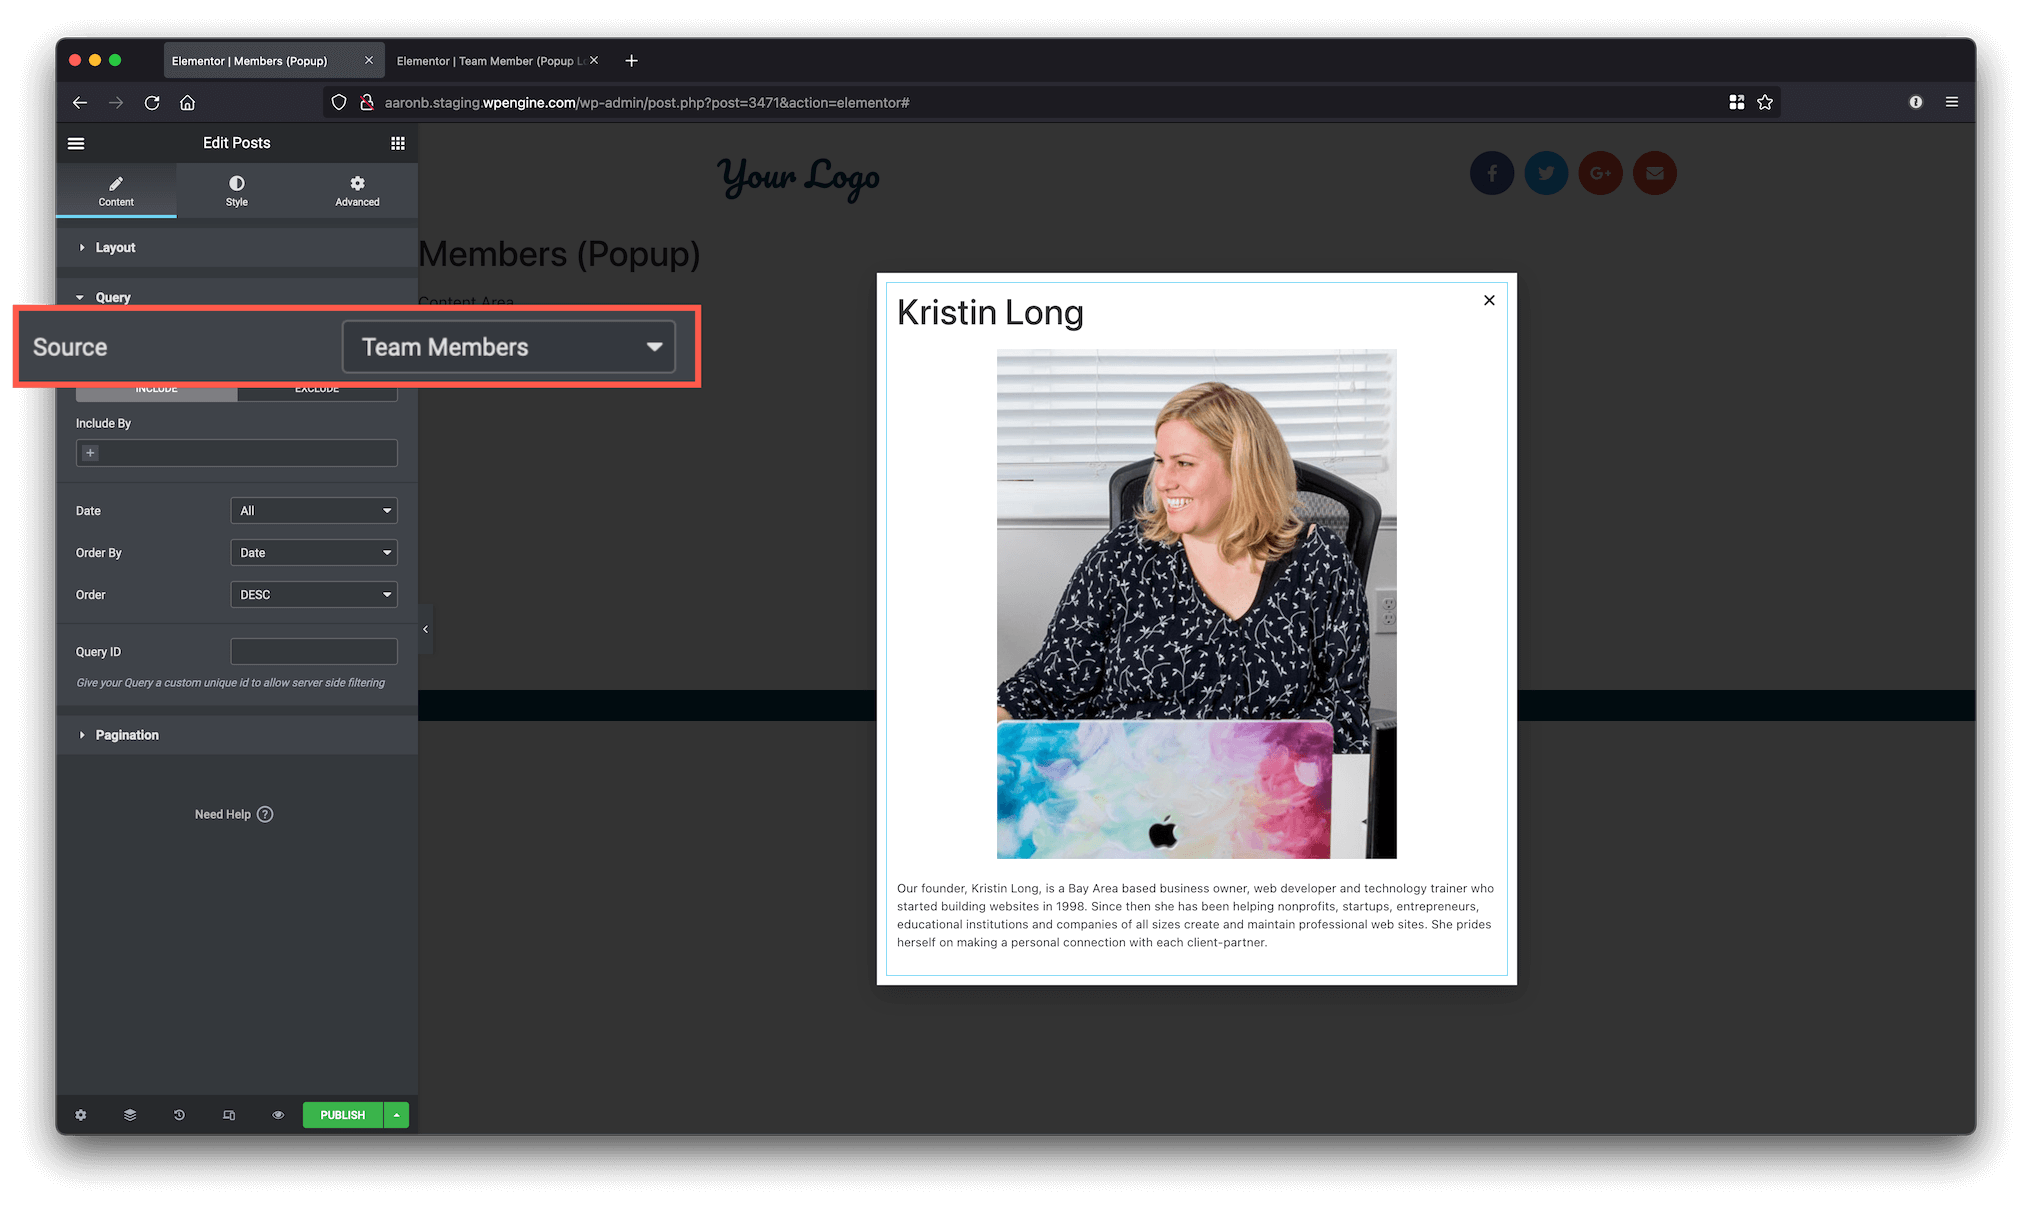
Under the Query tab, change Source to Team Members.
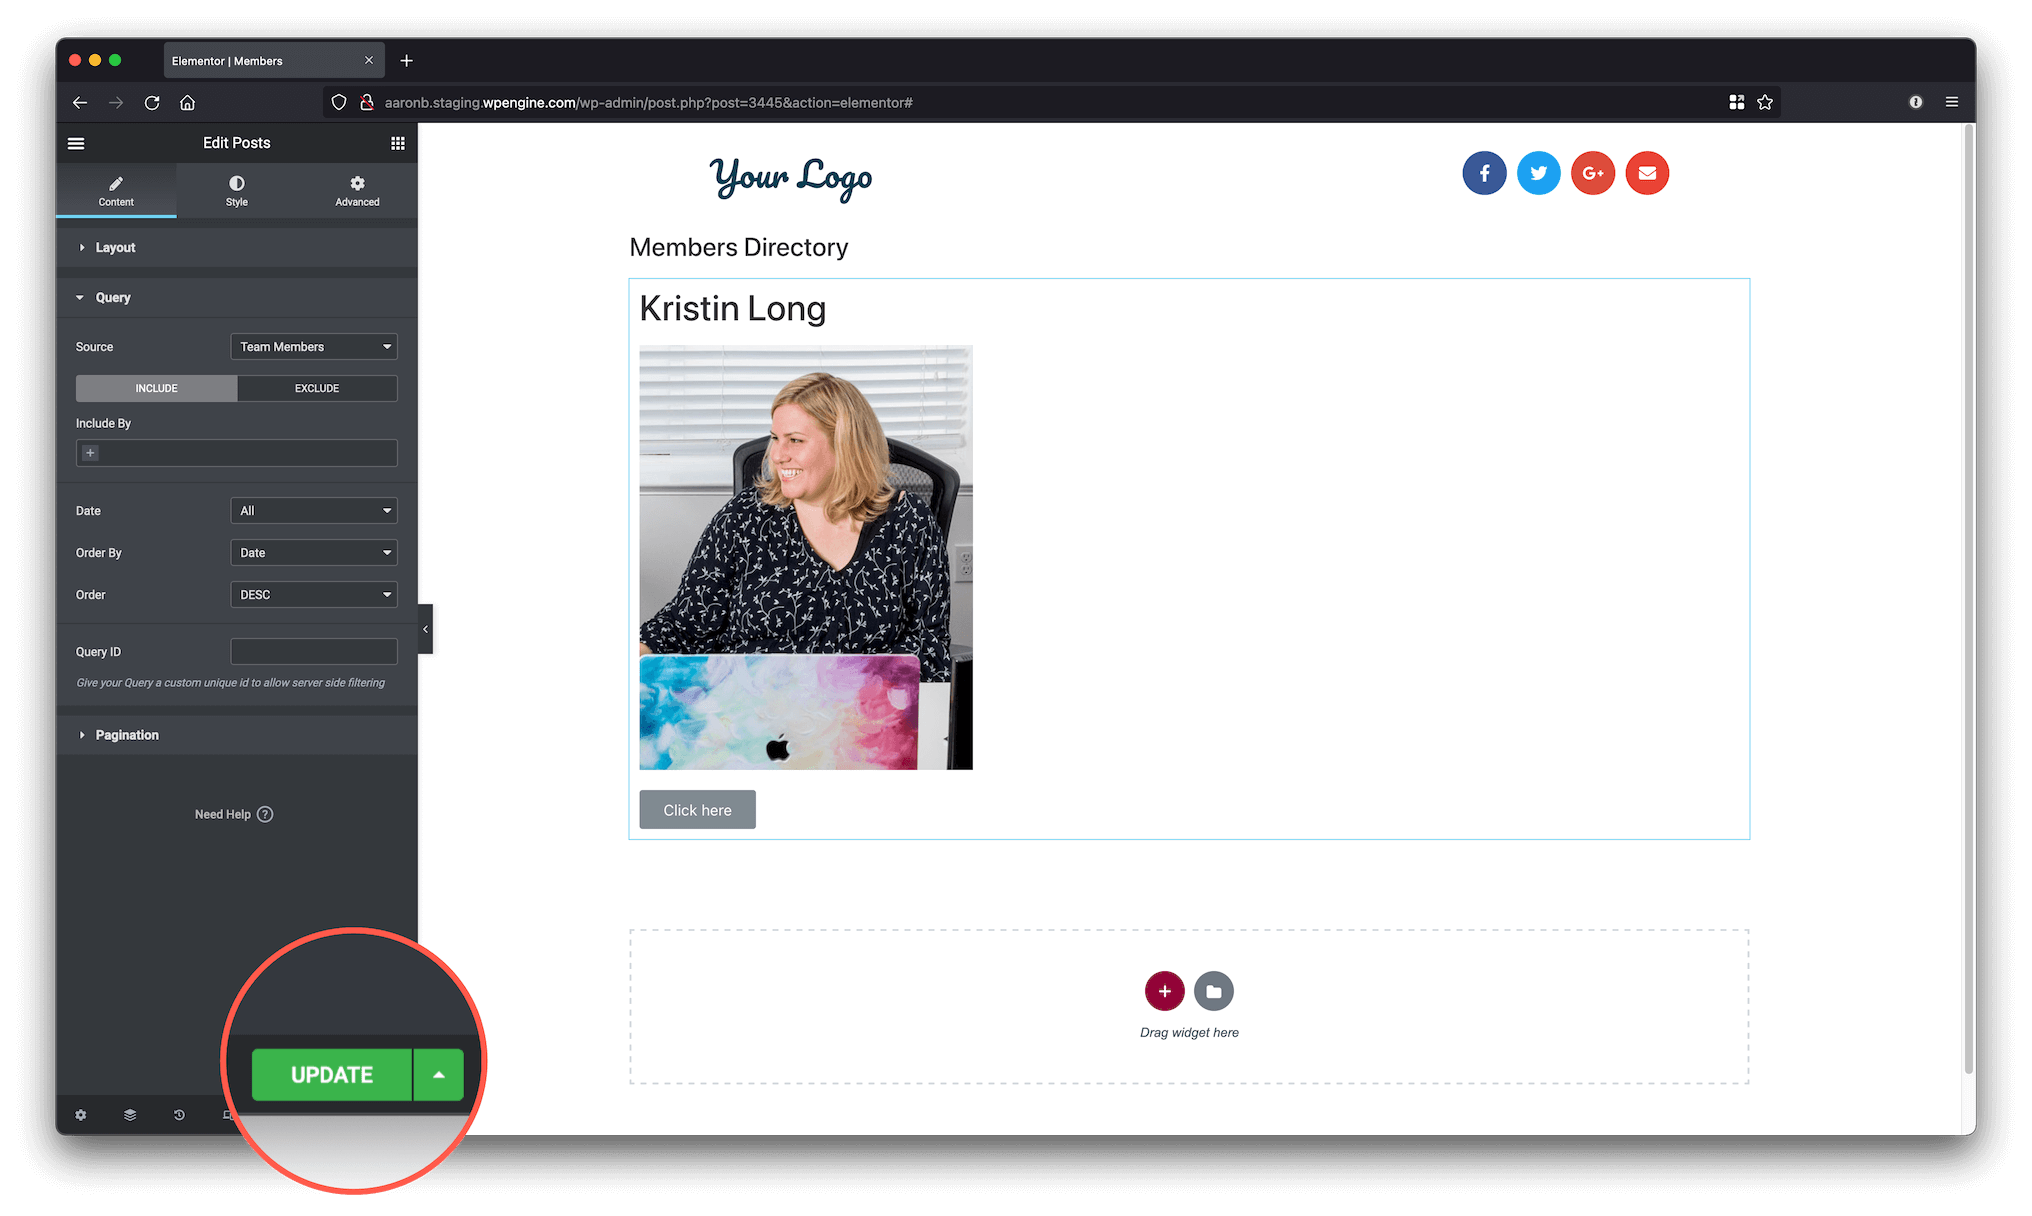
Save the template and you’re done on this template.
Create the “Team Member (Popup Loop Item)” template #
This is very similar to the “Team Member (Loop Item)” template. Follow the same steps, just use a different template name: “Team Member (Popup Loop Item)” and don’t include the Button widget. You may also want to include the Post Content widget this time.

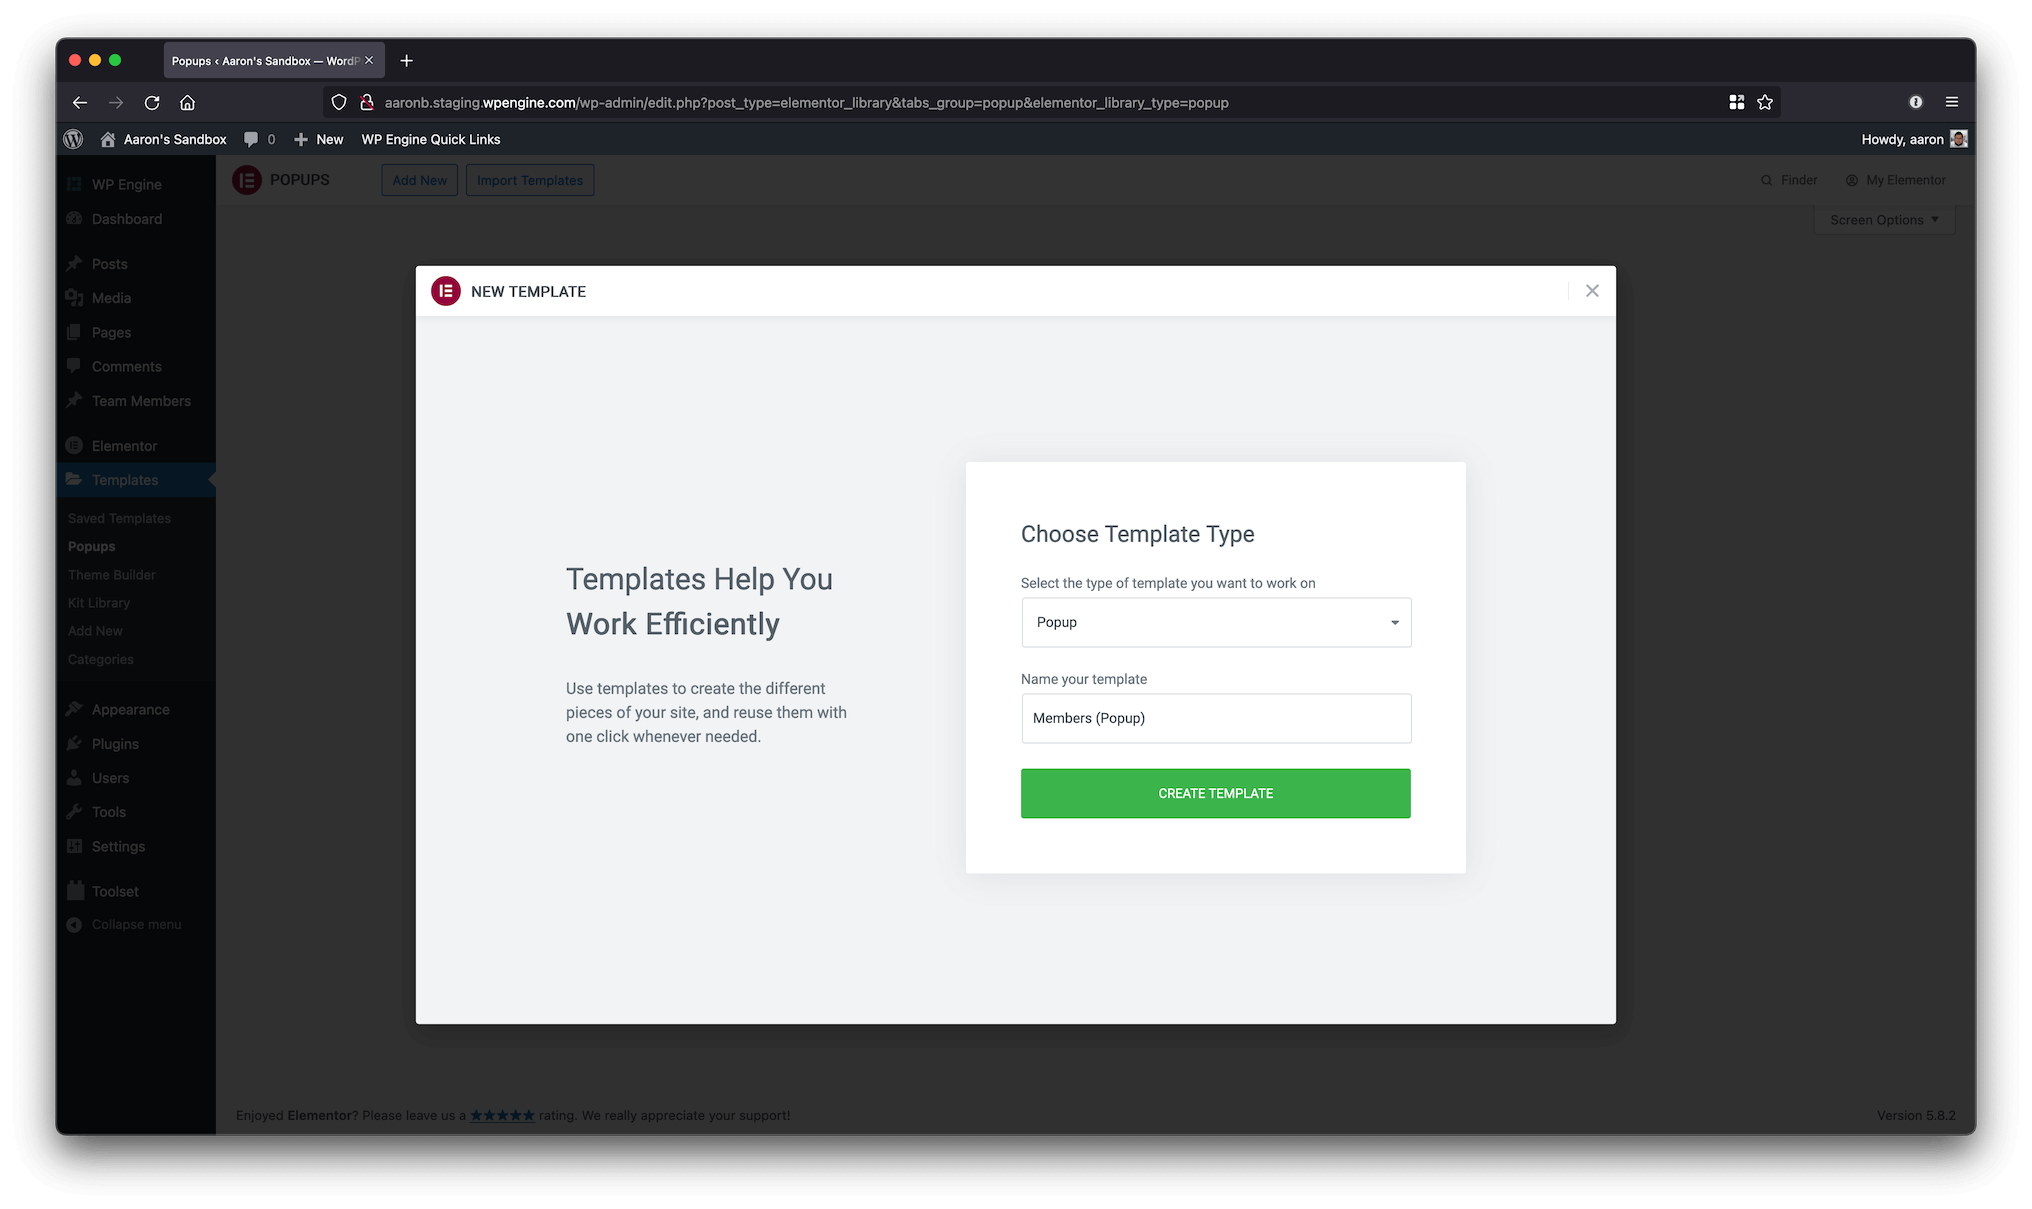
Create the “Members (Popup)” template #
- Type: Popup
- Name: Members (Popup)
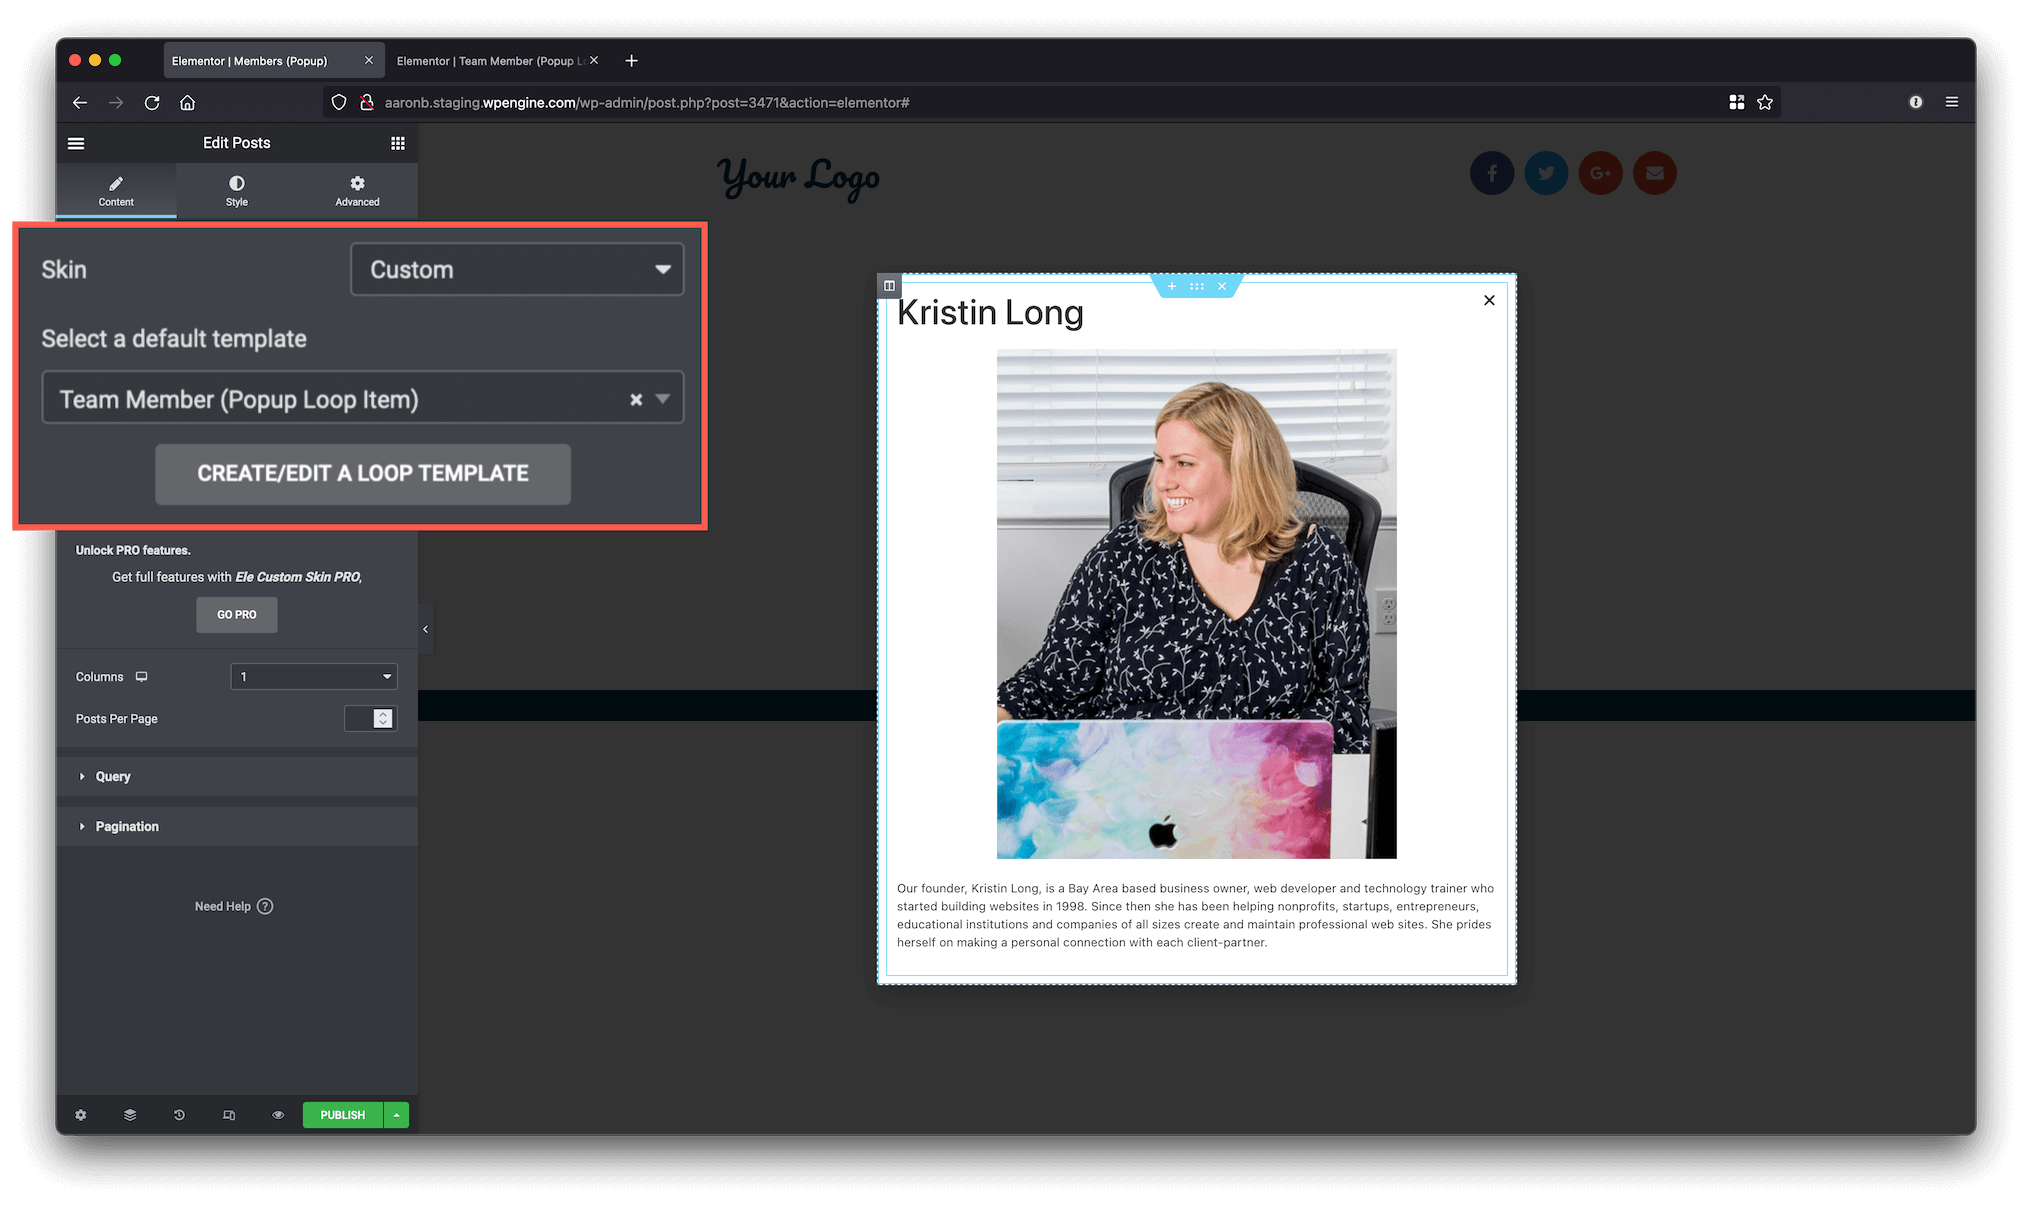
The Query configuration is the same:
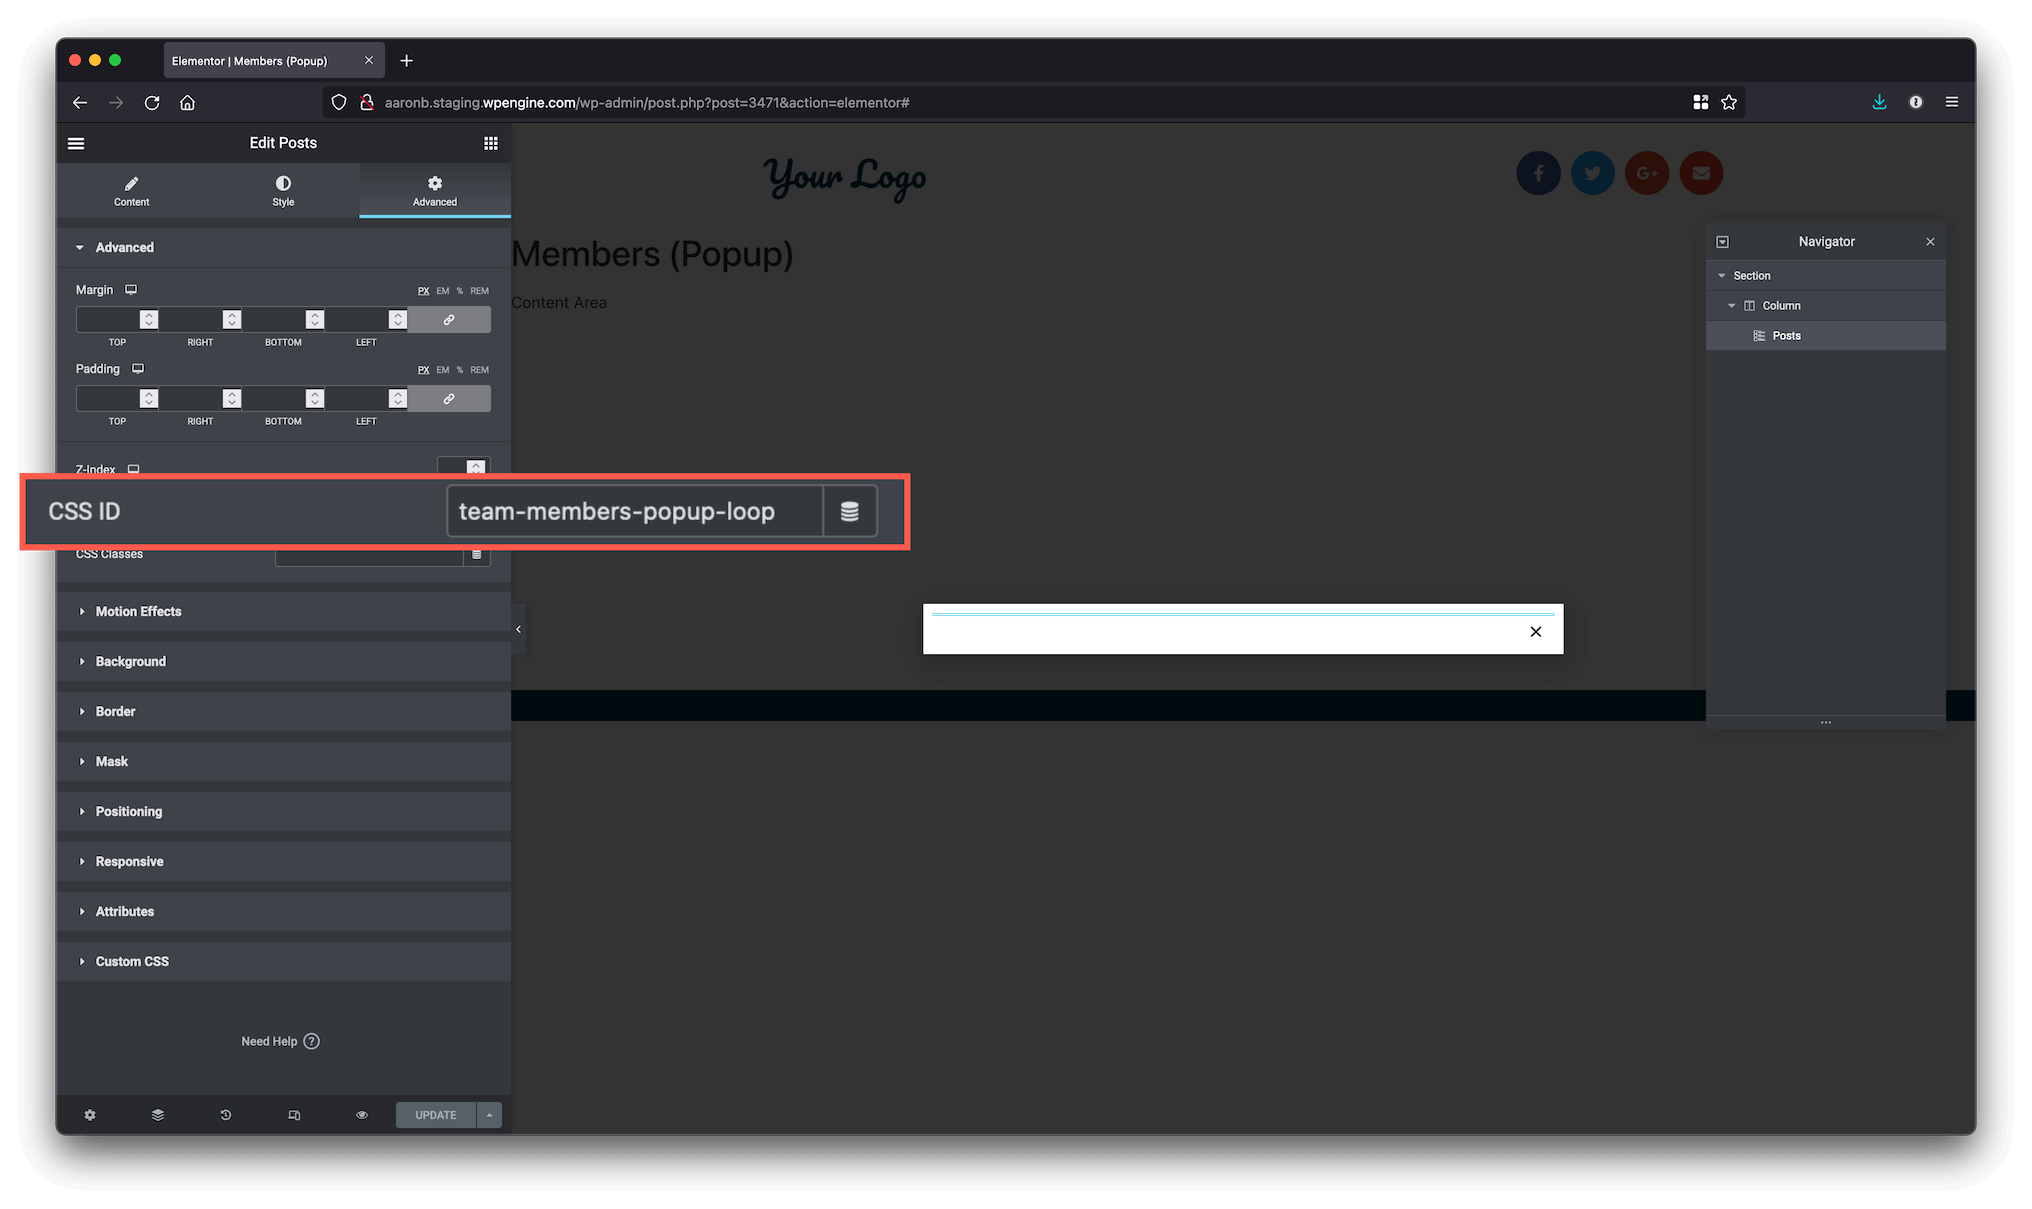
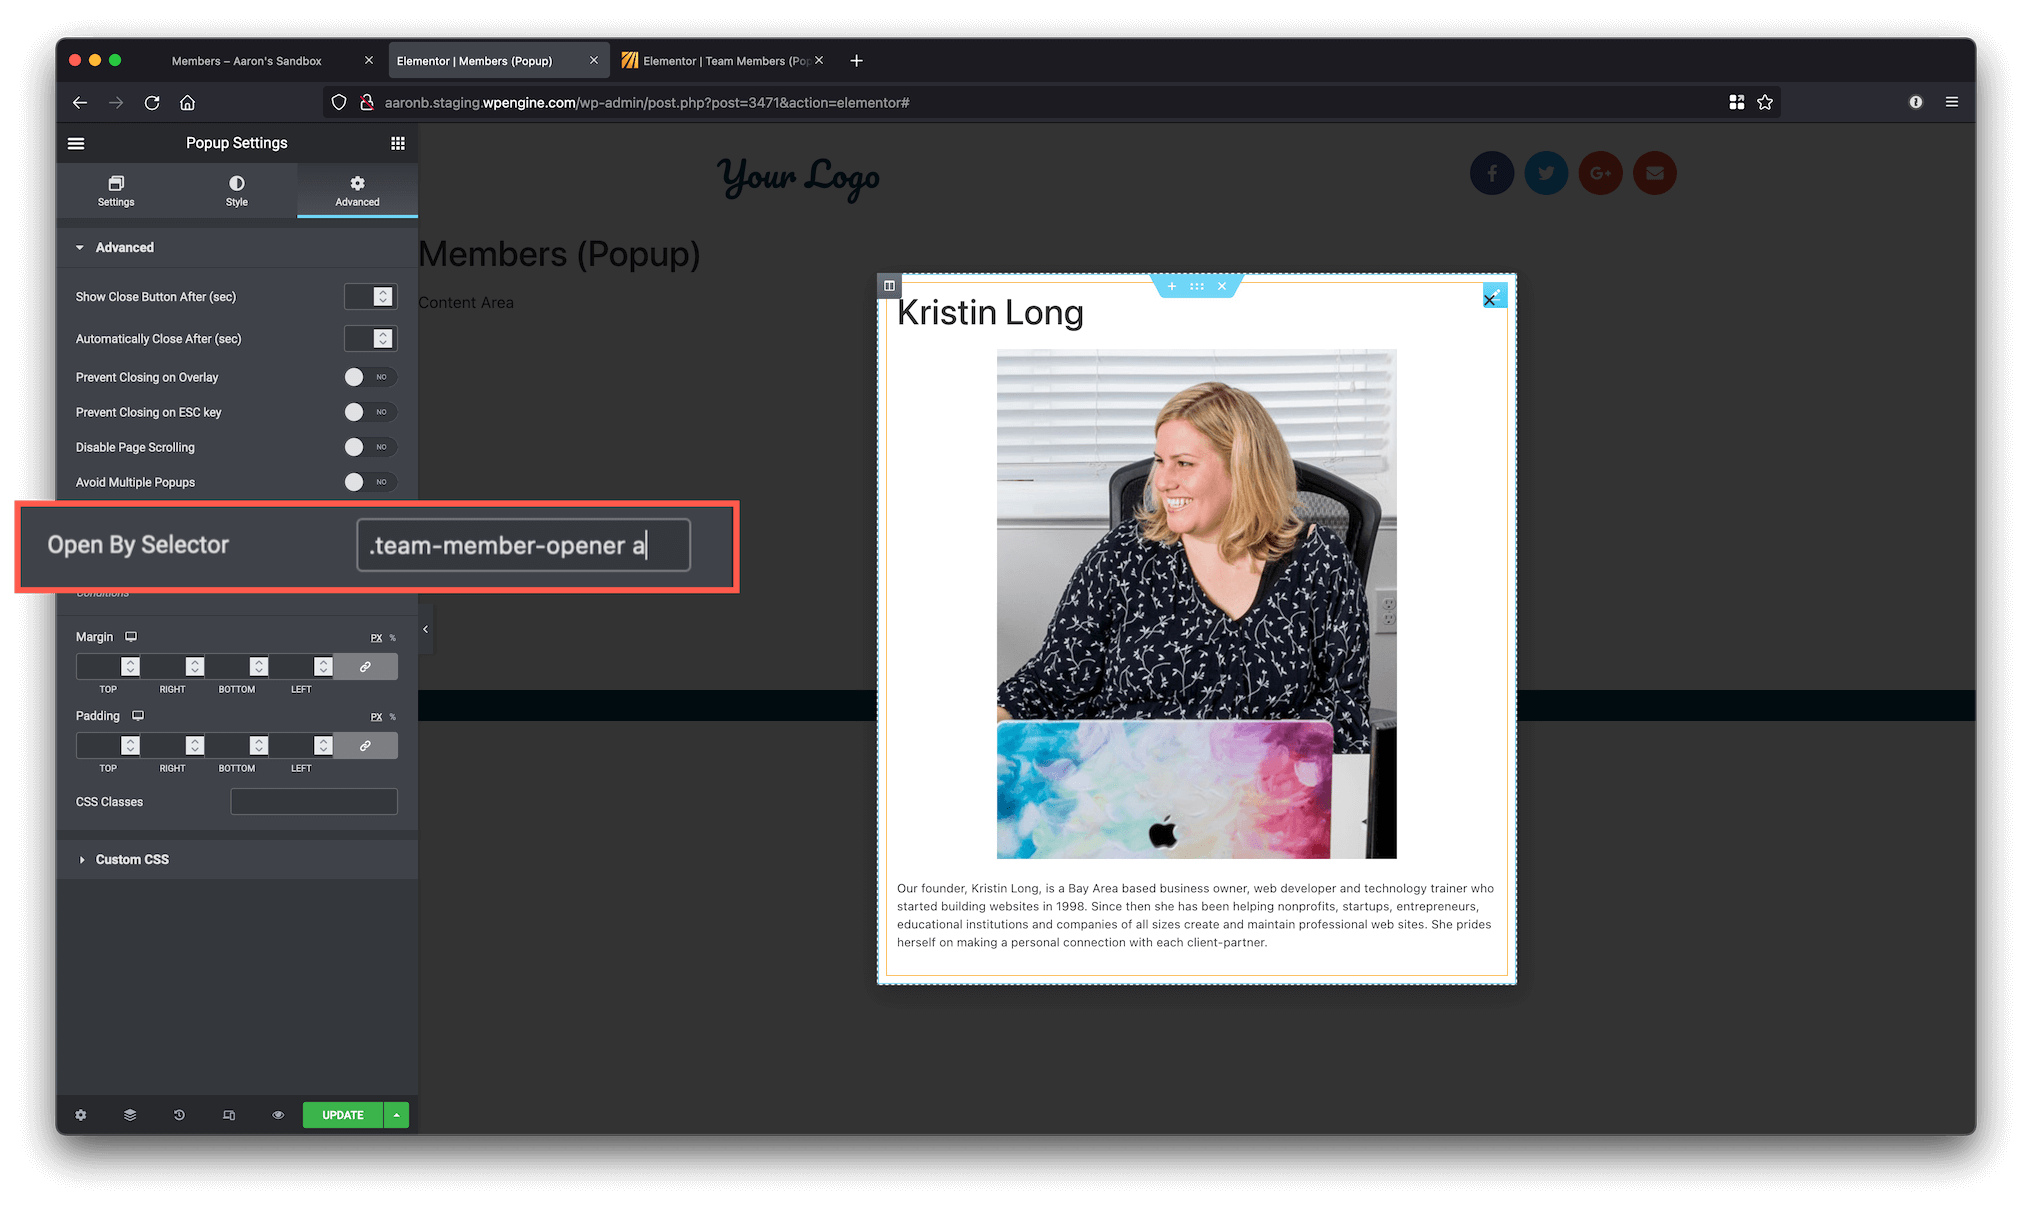
Also, you need to set the ID of this widget to team-members-popup-loop on the Advanced tab.
Click on the Settings icon on the bottom left of the screen to open the Popup Settings, then click on Advanced. Set Open By Selector to .team-member-opener a
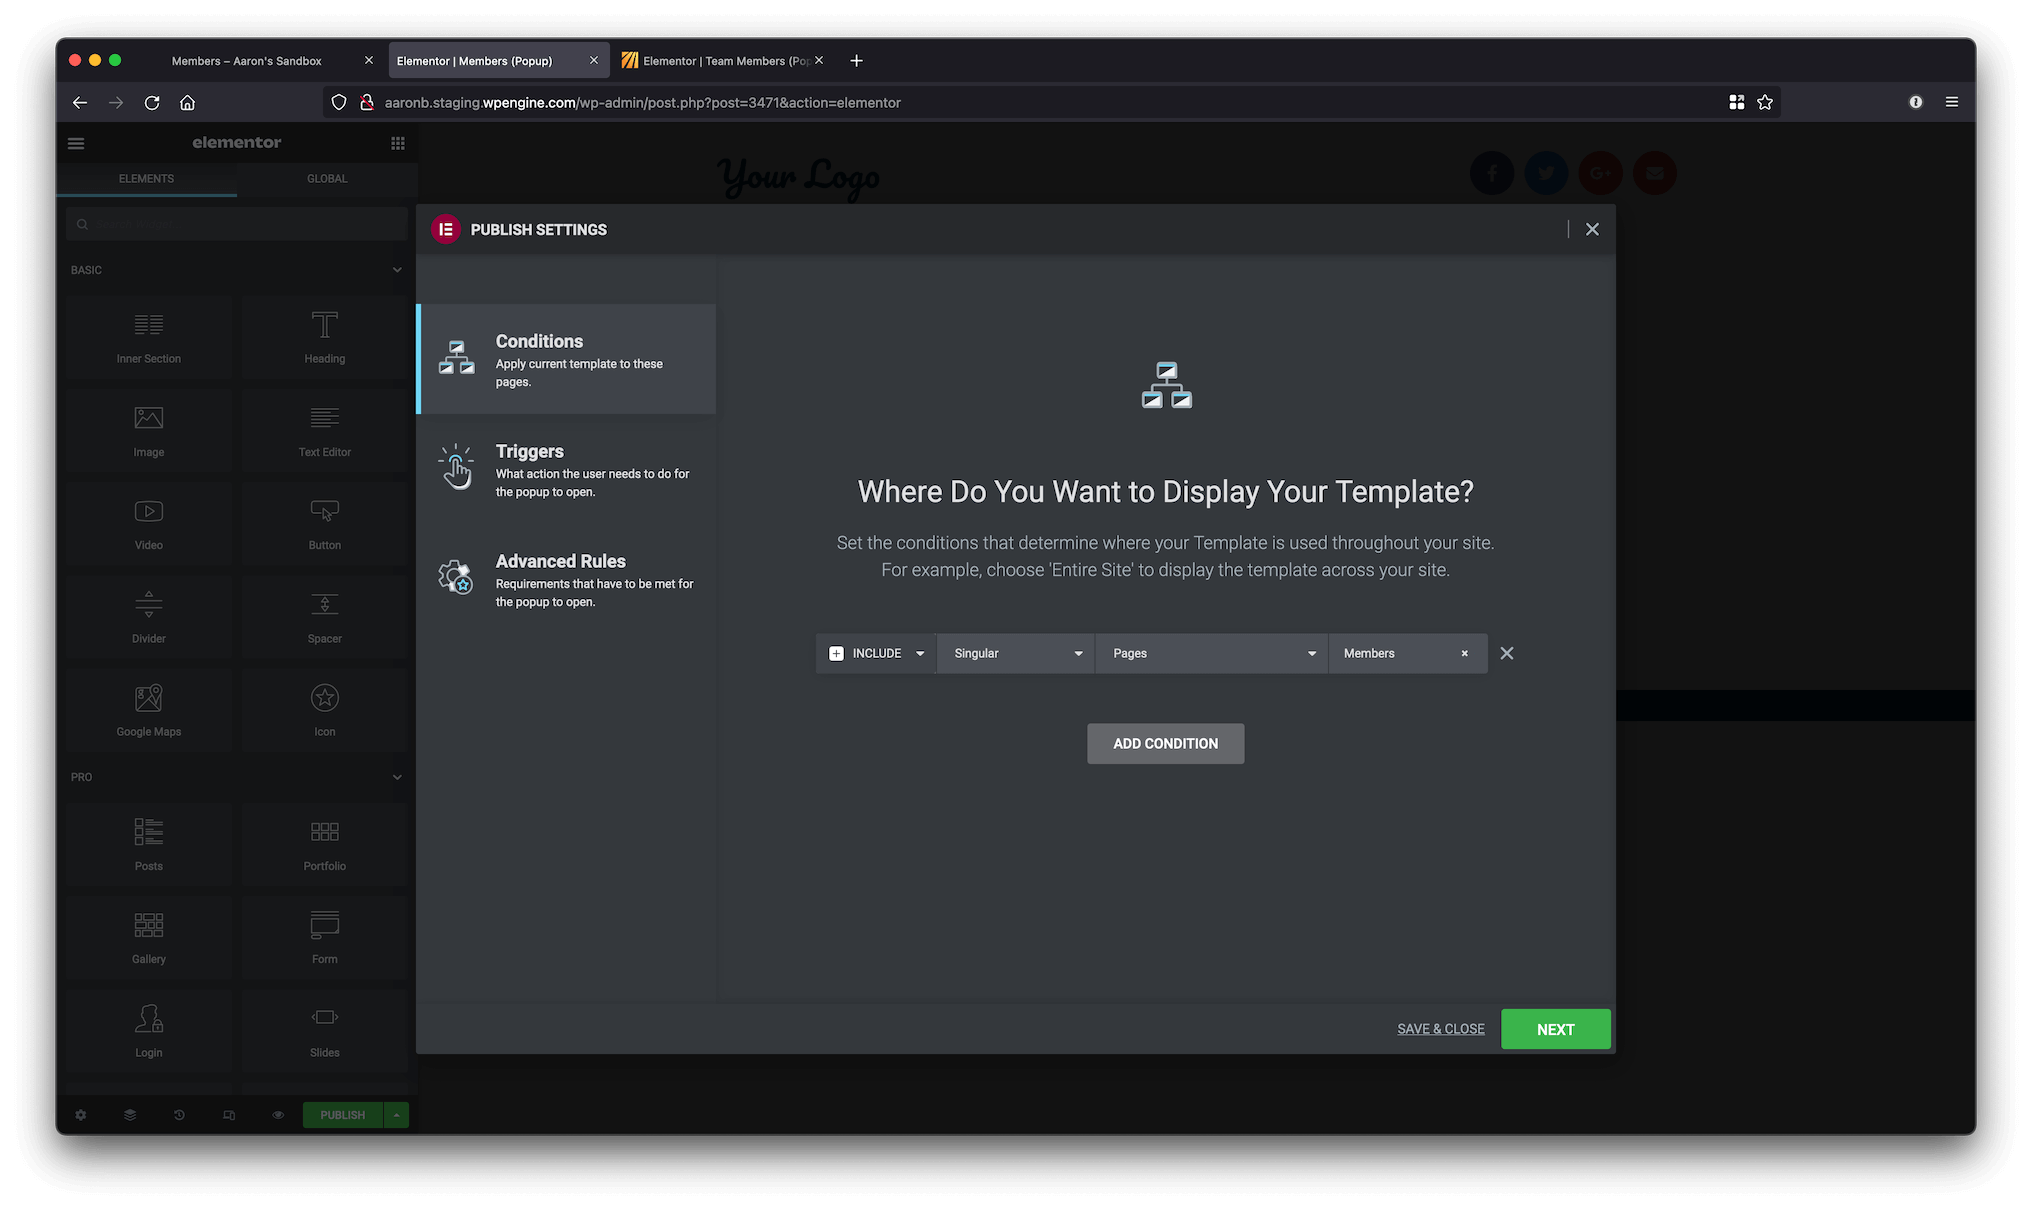
Click on Publish and a Publish Settings popup will appear. Set the template to display on the Members page, and click on Save & Close. Is not necessary to configure Triggers or Advanced Rules.
CSS & JS #
Finally, add the following CSS and JS to your style.css and main.js files (or whatever file your theme has for this). You could also add it using Elementor Pro.